
As an Amazon Associate we earn from qualifying purchases. This article contains affiliate links; we may earn a small commission at no extra cost to you.
Best incubator thermometer selection is the secret weapon for poultry hatch success—and too many owners accidentally sabotage hatch rates with inaccurate tools.
Key Takeaways
- Sensor accuracy, placement, and regular calibration—often ignored—directly impact hatchability.
- Inexpensive plastic thermometers can drift and react slowly, causing temperature swings that lower hatch rates.
- Easy upgrades and better calibration routines can recover lost hatch potential, even in basic incubators.
- Why Accurate Incubator Thermometers Matter for Hatch Rates
- Best Incubator Thermometers: Specs and Price Ranges Compared
- Humidity Control in Incubators—Features, Limitations, and Common Pitfalls
- Calibration and Sensor Placement: The Overlooked Keys to Reliable Results
- Pro Tips from the Field: Managing Gradients and Airflow for Even Incubation
- The 3 Critical Facts Most Guides Ignore
- FAQ: Choosing and Using Your Incubator Thermometer
Why Accurate Incubator Thermometers Matter for Hatch Rates
Incubator temperature control is not a minor detail—every degree matters. Even with the best incubator thermometer, a misreading or slow sensor can cause temperatures to drift or lag, harming embryo development. Many incubator issues truly start with underperforming thermometers: inexpensive plastic models, slow-reacting digital readouts, or units that go out of calibration weeks into the cycle.
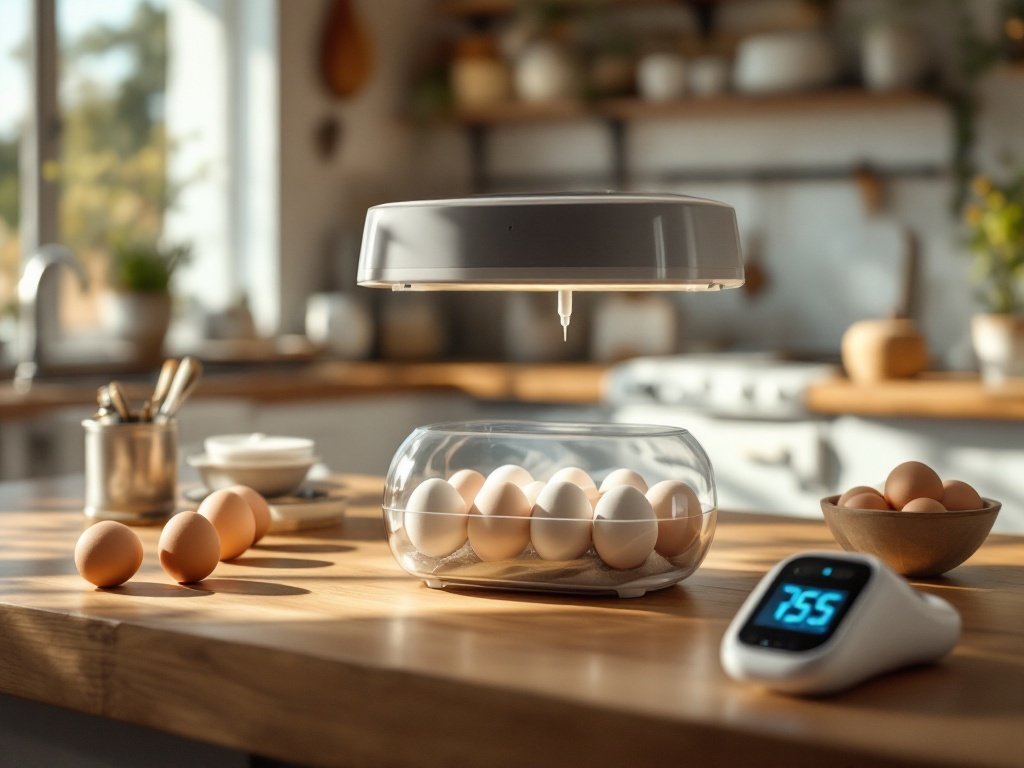
Real-world data confirms this: sensor lag or drift—especially from cheap, uncalibrated sensors—can create temperature swings or artificial stability that reduce hatch rates by a measurable amount[source]. Why risk weeks of work and a batch of valuable eggs for a $20 shortcut?
For serious hobbyists and breeders, investing in accuracy means more viable chicks, stronger hatches, and less heartbreak at lockdown. And even with the best automatic incubators, built-in gauges aren’t always trustworthy—especially after a few cycles. You can avoid these losses by understanding what accuracy and response time actually mean in the incubator context.
See our full guide to beginner incubators—and how sensor quality changes outcomes.
Best Incubator Thermometers: Specs and Price Ranges Compared
Let’s break down the best incubator thermometer options—from affordable models for small flocks to professional-grade lab instruments. The right choice depends on your accuracy needs, scale, and willingness to calibrate over time.
For hobbyists, leading models include digital thermistors and 2-in-1 temperature/humidity combos:
| Model | Type | Accuracy | Response | Calibration | Power | Price Range (varies by retailer) |
|---|---|---|---|---|---|---|
| Inkbird IBS-TH1 | Thermistor combo | ±1 °F | 30–60 sec | Manual | AA cell | $15–$80 |
| SensorPush HT.w | Thermistor combo | ±1 °F | 30–60 sec | Manual | Coin cell | $15–$80 |
| ThermoWorks Pocket | Digital stick | ±1 °F | ~60 sec | Manual | Button cell | $15–$80 |
| Thermapen ONE | Thermocouple | ±0.2 °F | <5 sec | User adj. | Rechargeable | $200–$500 |
| Fluke 54B | Thermocouple | ±0.2 °F | <5 sec | User adj. | Rechargeable | $200–$500 |
| Extech 407735 | PT100 probe | ±0.2 °F | <5 sec | User adj. | Rechargeable | $200–$500 |
*Actual prices may vary depending on retailer and configuration. Higher accuracy and speed typically come at a cost.
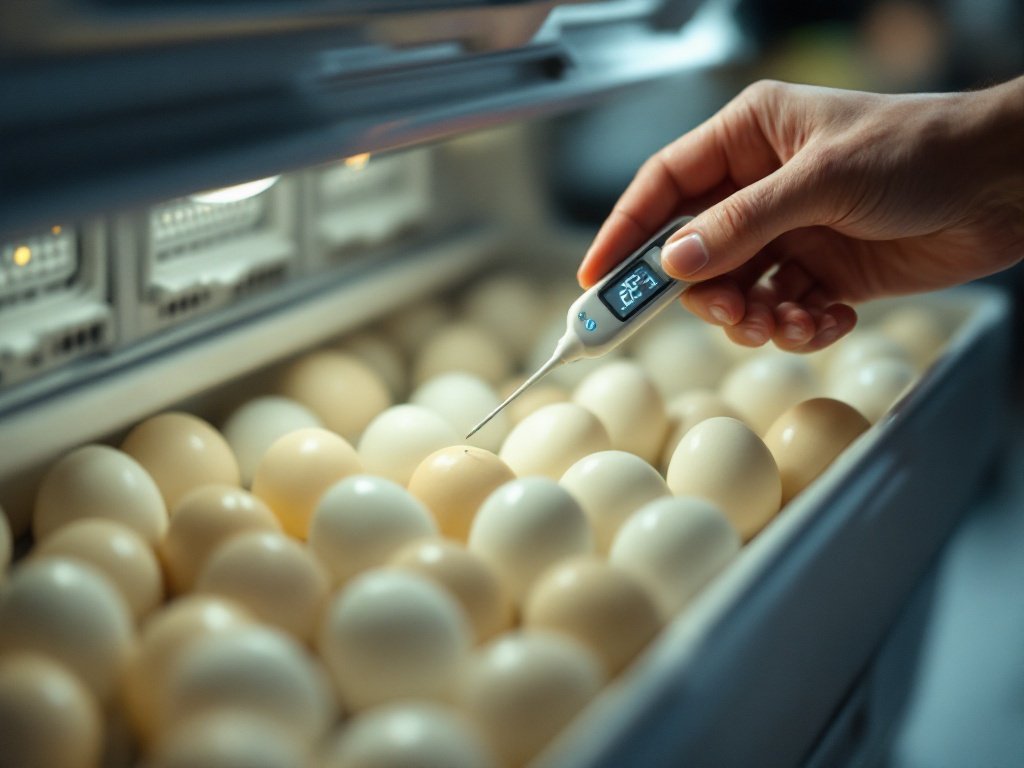
Hobbyist models offer decent accuracy, but usually require manual calibration (ice or boiling water bath). Professional gear features rapid-response sensors—crucial when you need to catch heating element failures or power loss fast—and user-adjustable offsets. Whatever you choose, it’s far better to calibrate two decent thermometers regularly than to trust only expensive lab tools after months of use without checks.
Want your incubator sensors to work better? Learn how secure coop setups and winterizing can help at our guide to keeping chickens warm in winter.
Humidity Control in Incubators—Features, Limitations, and Common Pitfalls
Incubator humidity control is almost as critical as temperature. Most small incubators use open water trays or simple pumps, while pro models include automatic humidification and digital readouts.
Here’s where many breeders lose chicks: even when set properly, sensor drift or cheap humidity gauges can read high or low by several percentage points of relative humidity. That small error can directly lead to unhealthy air cells, sticky chicks, or improper membrane development, with lower hatchability[source].
Common pitfalls:
- Humidity sensors rarely come factory-calibrated—and most never get recalibrated.
- Trays or channels may not maintain even humidity across the cabinet, especially if the incubator isn’t level.
- Ventilation systems affect both heat and humidity. Adding or blocking vents shifts evaporation rates and can disrupt otherwise stable conditions.
- If using automatic controls, always monitor with a calibrated backup—even a good sensor can drift or fail.
For more humidity troubleshooting, see the deep-dive guide at Poultry Keeper.
Calibration and Sensor Placement: The Overlooked Keys to Reliable Results
Even the best incubator thermometer will mislead you if it isn’t properly located and recalibrated often. Most hobby and pro thermometers can develop drift over weeks of use—especially when exposed to repeated heating/cooling cycles. Placing your sensor at egg level (not at the perimeter, top, or under the air vent) is critical for accurate readings.
Key facts:
- Inexpensive thermometers may drift over time.
- Sensors high in the incubator or stuck to the wall can read 1–2 °F higher than at the egg surface.
- Humidity readings are notoriously unreliable unless checked against known references (e.g., salt-test jars or wet-bulb setups).
- Manual calibration every 2 to 4 weeks counteracts long-term drift and uncovers failing sensors.
To calibrate:
- Use an ice water bath for 0°C/32°F and boiling water for 100°C/212°F (altitude adjusted) to verify thermometer readings.
- For humidity, use a saturated salt solution or wet-bulb reference.
- Mark your sensors with calibration date and update regularly.
Optimizing feeder placement also impacts air quality—find out how in our waste-free feeder guide.
Pro Tips from the Field: Managing Gradients and Airflow for Even Incubation
Many hatching guides skip over one of the most important realities: every incubator—large or small—develops temperature and humidity gradients. This means that, even with a top-rated thermometer, eggs at different spots may experience different microclimates.
Experienced breeders often:
- Map temperature and humidity by moving a single accurate probe to different corners and heights, logging the results.
- Use an egg candler to monitor embryo development and flag uneven growth that matches hidden microclimates.
- Install mini fans (where allowed) to even out hot/cold or wet/dry spots, being cautious not to over-dry the air or cause drafts.
- Rotate egg trays or reposition eggs mid-incubation to balance out location-based discrepancies (especially in higher capacity cabinets).
Don’t forget: ventilation holes and airflow are not just “set and forget”—they change the internal climate. Too much airflow can lower humidity below safe levels; too little can create CO2 buildup, risking unhatched chicks. It pays to experiment and record results—small changes can make all the difference.
For related airflow and ventilation optimization in poultry setups, our coop ventilation guide covers best practices.
The 3 Critical Facts Most Guides Ignore
For serious hatch rates, here are the advanced—but frequently overlooked—habits of professional breeders:
- Daily or weekly humidity profiling. Don’t trust a single number—map how levels change in different incubator spots as eggs lose or gain moisture.
- Airflow patterns create microclimates. Picture your incubator not as one box, but as layers and pockets shaped by fan speed, vent design, and egg position.
- Scheduled sensor calibration with reference tools. Use reliable standards (ice/water, wet-bulb, or even a known-good reference thermometer) every 2–4 weeks. Record results and mark any changes in sensor performance.
Systematic recalibration—rather than set-and-forget—is your insurance against compound errors that creep in over time. Reference standards might sound intimidating, but even a basic wet-bulb setup and a bag of ice can get you close enough for reliable hatches at home. If your hatch rates plateau or drop, this is the first place to look.
Dig deeper into humidity management (especially for varying climates) in related posts: best bedding for chicken coops.
FAQ: Choosing and Using Your Incubator Thermometer
What’s the best incubator thermometer for small flocks?
Digital thermistor models like the Inkbird IBS-TH1 or SensorPush HT.w are accurate enough for hobby use if checked and calibrated regularly. Place the sensor at egg level for true readings.
How often should I calibrate my incubator thermometer?
Check calibration regularly—or before each new batch—using an ice water bath (32°F) and boiling water (212°F, adjusted for your location).
Are expensive professional thermometers worth it?
For larger hatches or valuable eggs, the speed and accuracy of pro models like the Thermapen ONE or Fluke are major advantages. For small home setups, regular recalibration of a cheaper unit is often enough.
What’s the right way to measure hatching humidity?
Use a digital hygrometer, but verify with a salt test or wet-bulb reference. Make sure air can circulate and avoid placing sensors where moisture pools or drafts hit directly—read at egg level when possible.
What if my thermometer and incubator display never match?
Trust the sensor you’ve recently calibrated with independent methods. Built-in displays often drift or can’t be adjusted. Don’t average the two—pick the one you’ve verified.
For more tips, check out our incubator buying guide for beginners and automatic chicken coop door advice to further automate and secure your setup.
Conclusion: Mastering the Science of Incubation
Every successful hatch depends on more than a wishlist of features. Paying attention to sensor quality, strategic placement, and routine recalibration delivers better results than any single upgrade. Cheap thermometers can work—if they’re used wisely and checked often. For the best incubator thermometer experience, treat your sensors with the same respect as your eggs, and you’ll see a real difference in your hatch rates.
Ready to level up your hatching? Upgrade your thermometer, improve your calibration routine, and watch your hatch rates soar.