
As an Amazon Associate we earn from qualifying purchases. This article contains affiliate links; we may earn a small commission at no extra cost to you.
How to candle eggs is a skill every backyard poultry owner, small-scale hatcher, and quail enthusiast should master to boost hatch rates and flock health. This hands-on guide breaks down egg candling into simple, safe steps, helping you spot viable eggs and avoid classic pitfalls the very first time you try.
Key Takeaways
- Candling eggs helps you identify fertile, non-viable, and risky eggs so you can optimize hatch rates and prevent contamination.
- The right candling light and technique are critical—using the wrong tool or timing leads to wrong calls and lost chicks.
- Most troubleshooting issues come from weak lights, poor seals, rushing the process, and not knowing what egg signs mean.
- What is Egg Candling and Why Does it Matter?
- Step-by-Step: How to Candle Eggs Correctly
- Decoding Results & Common Problems
- Conclusion
- FAQ: How to Candle Eggs
What is Egg Candling and Why Does it Matter?
Egg candling is a simple method for checking the development of embryos inside eggs using a focused light source, usually a bright LED. By shining this light through the shell in a dark room, you can see details like blood vessels, movements, and other clues that show whether the egg is developing normally or needs to be removed. Knowing how to candle eggs at key points during incubation lets you remove infertile or non-viable eggs before they cause contamination risks to the rest of your hatch (source).

You can’t see everything by candling, but you can reliably tell the difference between healthy growth, clear (infertile) eggs, and early embryo loss (often as a “blood ring” mark). Done correctly, candling is one of the quickest ways to improve hatch rates and overall flock productivity.
To get started, all you need is a dark space and a strong, cool-beam light made for egg candling. Many poultry owners use candling to check progress around day 7, confirm just before lockdown, and spot any eggs that could become a hazard or waste valuable heat and humidity in the incubator.
For more on optimizing every area of your flock’s setup, see guides such as best chicken coop for cold weather or automatic chicken coop doors.
Step-by-Step: How to Candle Eggs Correctly
Mastering the right technique ensures accurate readings and safe handling. Here’s how to candle eggs, step by step:
- Prepare Your Space: Choose a completely dark room. This is essential for seeing faint details. Make sure surfaces are clean and dry.
- Get the Right Candling Tool: Use a dedicated egg candler with a bright white LED, ideally between a bright white LED designed for candling. The fit between light and shell matters—entry models use rubber gaskets, while professional ones offer adjustable cradles and magnifiers (source).
- Hold the Egg Correctly: Cup it gently, pointed end down, and place the fat end up against the light aperture. Don’t force it or rock the egg.
- Check at the Right Incubation Days: The most critical day is candling day 7 or 10—by now, fertile eggs should show clear veins and sometimes movement. An egg that remains “clear” with no signs of veins at day 7 is most likely infertile or an early loss (source).
-
Interpret What You See:
- Viable eggs: Clear network of veins, dark spot (embryo), sometimes twitching movement.
- Blood ring egg: Thin red ring inside, no movement; chick died early.
- Clear egg: No veins or dark areas; simply glows with a shadow of the yolk.
- Remove Non-Viable Eggs Safely: Infertile or blood ring eggs should be marked and removed when confirmed to avoid rot or explosion risk.
- Repeat Before Lockdown: Candle again at days 14 and 19 (for chickens), noting changes and new failures. Remove identified duds.
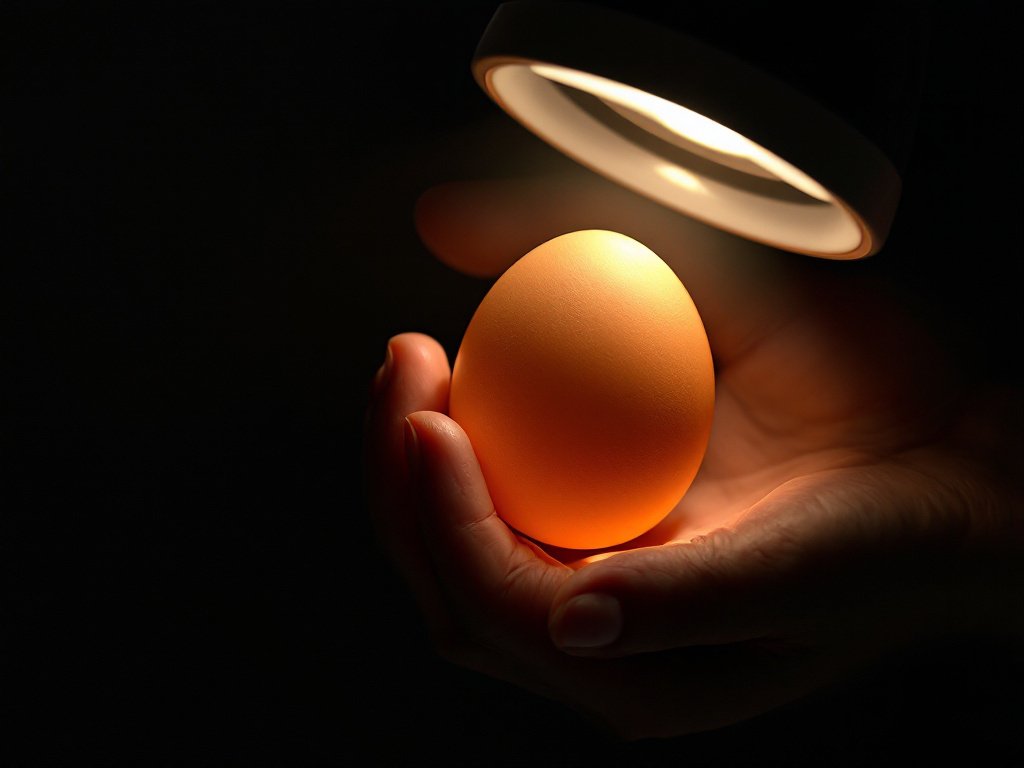
Remember, dark-shelled eggs are always harder to read. If unsure, leave the questionable egg a few more days and recheck before making the final call, especially if no smells or leaks are present.
Want even greater hatching precision? See best egg incubator for beginners and best incubator thermometer for accuracy boosts.
Decoding Results & Common Problems
Candling is simple, but there are roadblocks. Here’s how to spot issues and deal with the most common user problems, based on real feedback and candling kit reviews.
| Problem | What Happens | How to Prevent or Fix It |
|---|---|---|
| False readings (early stage or weak light) | Early embryos can appear “clear” if candled before day 7 or if the light isn’t strong enough. Leads to removing live eggs by mistake. | Wait until day 7 or later; always compare with other eggs of the same batch. |
| Dim visuals or kit failures | Dim LEDs, dead batteries, or poor rubber gaskets allow light leak, making signs impossible to see. | Use fresh or rechargeable batteries; pick kits with quality seals and high output LEDs (source). |
| Heat build-up | Non-LED bulbs can heat up, raising the temperature inside the shell and potentially risking embryo damage. | Always choose LED candlers; never use household flashlights or bulbs for extended periods. |
| Cleaning residue | Dust, bloom, or oils on the shell leave deposits on the seal or lens, blurring light and harboring bacteria. | Wipe seals and lenses after every session; keep eggs clean but unwashed if possible. |
| Misinterpreting a blood ring (false positive/negative) | Blood ring is a key sign of early embryo death; missed or confused rings mean risky eggs stay in the incubator. | Blood ring detection can be useful, but if unsure, err on the side of caution (source). |
Some candling mistakes stem from using the wrong gear. Entry-level torch-style candlers cost less and work for hobbyists, but may not be bright enough for dark or thick eggshells. Hobbyist and professional kits offer strong LEDs, focus, and holder stability—but cost more. For a breakdown of what suits you best, see our full egg candling guide.
Timely removal of nonviable eggs is not just about hatch rates; it’s critical for safety. Blood ring eggs, if left, can explode and spread bacteria to the rest of your hatch (source).
If you want to prevent other flock problems, we recommend resources like waste-free chicken feeders, heated chicken waterers, or keeping chickens warm in winter.

Conclusion
Knowing how to candle eggs pays you back every hatch season, letting you spot duds early, reduce risks, and get more healthy chicks. Use a strong LED candler, time your checks right, and watch for clear visual signs in the shell. When in doubt, step back, confirm on the next candling day, and always value a clean and steady hand over rushing the process. Ready for more flock-raising tips? Dig into our other in-depth poultry care guides, and upgrade your candling kit with confidence.
Start boosting your hatch success today—grab the right candler, mark your calendar for candling day 7, and see just how much a little light can reveal.
FAQ: How to Candle Eggs
What is the best day to candle eggs for fertility?
Day 7 is the most reliable day to check for fertility. By then, you should see clear veins or an embryo if the egg is developing. Candling too early can lead to false “clear egg” readings.
How do I know if an egg is infertile or dead during candling?
Infertile (clear) eggs show no veins and are mostly transparent, sometimes with a faint yolk shadow. A dead egg often has a visible blood ring inside—a thin red circle seen by candling.
Can I candle eggs with my phone’s flashlight?
Yes, for very light-shelled eggs or in a pinch, but most smartphone flashlights lack brightness and don’t focus well. Dedicated LED candlers are safer, brighter, and allow accurate viewing even in marans, olive egger, or quail eggs.
How often should I candle eggs during incubation?
Candle at least on day 7, again on day 14, and before lockdown (around day 19 for chickens). Avoid excessive handling between these checks to minimize disturbance.
What should I do if I’m unsure about an egg’s status?
If you’re not sure, return the egg to the incubator, make a note, and check again after a few days. Avoid quick judgment if there’s no odor or leakage—early development can be hard to see, especially in dark shells.