
As an Amazon Associate we earn from qualifying purchases. This article contains affiliate links; we may earn a small commission at no extra cost to you.
Best brooder box for chicks decisions mean the difference between raising strong, healthy chicks—and weeks of headaches, wasted money, and serious safety risks. Whether it’s your first batch or you’re growing your homestead, you need more than another generic “top list.” Let’s break down real-world specs, owner-reported danger zones, and field-tested fixes for a fail-proof setup.
Key Takeaways
- The best brooder box for chicks balances safety, spaciousness, and easy cleaning—plan at least ½ square foot per chick for the first two weeks, scaling to 1 square foot by week four.
- Most serious failures come from overheating, fire, escapes, and slippery or dirty bedding—proven fixes are thermostatic heat plates, secure lamp guards, and hemp or kiln-dried pine shavings refreshed every 3–4 days.
- Owners overlook escape-proof gaps, correct side heights, and feeder placement—these details are crucial to avoid injuries, mold, and “spraddle leg.”
- What Makes the Best Brooder Box for Chicks?
- Brooder Box Specs: Dimensions, Materials, and Heat Source Explained
- Must-Have Safety and Health Features in Your Chick Brooder Setup
- Top Owner-Reported Pitfalls—and How to Avoid Them
- Three Critical Details Most Guides Miss
- Brooder Box Pricing: What to Expect by Tier
- Quick-Start Checklist: Setting Up Your Chick Brooder Safely
- Conclusion
- FAQ
What Makes the Best Brooder Box for Chicks?
The best brooder box for chicks is any setup that delivers reliable warmth, healthy growth space, and low-risk living—without making chores harder. That means:
- Safety First: No fire-prone equipment, no slick or toxic bedding, and no escape routes.
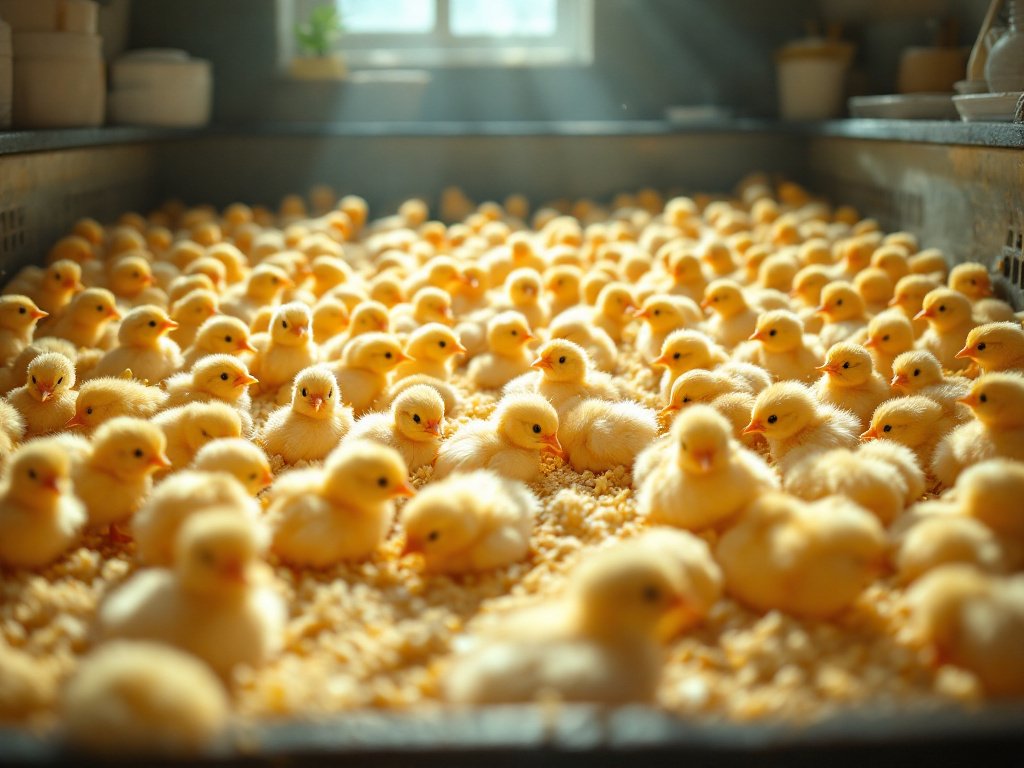
- Right Brooder Box Size: Start with at least ½ square foot per chick for the first 2 weeks, and 1 square foot per chick by week 4. For 30–40 chicks, a purpose-built 48×48 inch box can be a starting point, but brooders should be sized for growth and may need expansion as chicks age (source).
- Cleanability: Easy access, smooth interior, and bedding that can be swapped every few days.
- Ventilation: Enough airflow to keep air fresh and lower ammonia risk but not drafty.
- Consistent Heat: Heat that lets chicks self-regulate their distance.
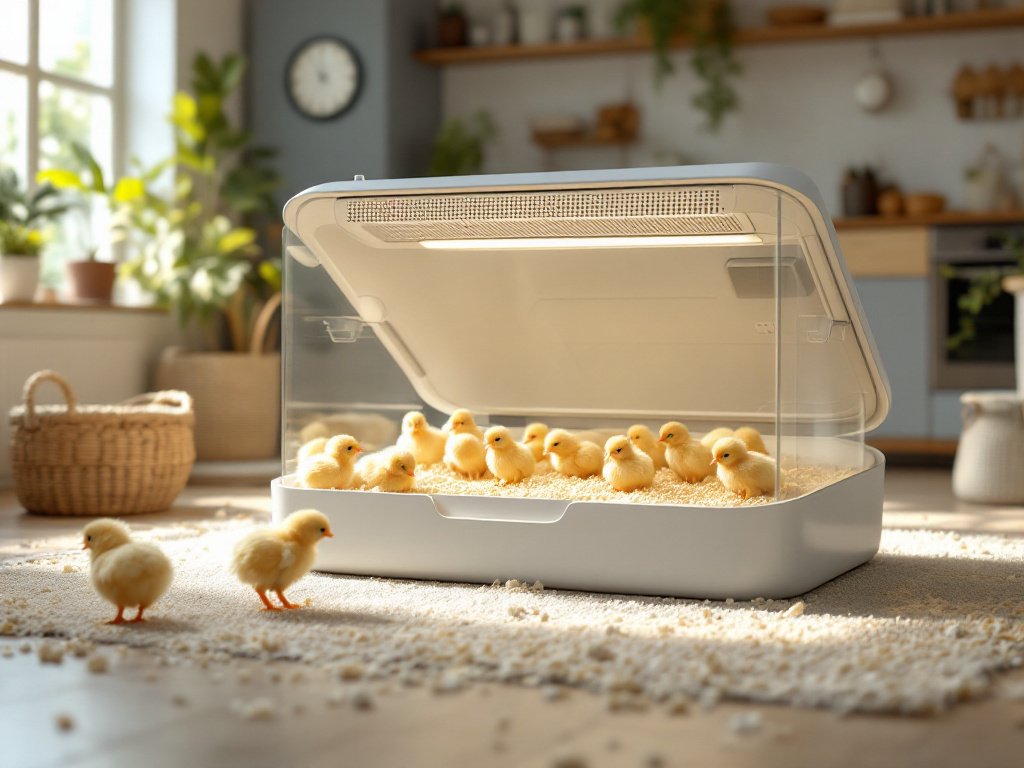
Brooder Box Specs: Dimensions, Materials, and Heat Source Explained
Start with the right brooder box size: for small flocks (up to 20 chicks), a 30-by-20-inch plastic bin or a 24-by-36-inch wooden or metal tank works. For 30–40 chicks, look at 48×48 inches or larger. Space prevents crowding, feather picking, and uneven growth.
Materials: UV-stable plastic, treated plywood, and powder-coated galvanized steel are top picks. They resist moisture, are easy to scrub, and won’t harbor bacteria if cleaned frequently. Avoid open-grain softwoods or unfinished surfaces—they trap moisture and odor.
Heating: The classic chick brooder kit often uses a heat lamp or a low-wattage thermostatic heat plate. Heat plates are safer—dramatically lowering fire risk, mimicking a mother hen’s warmth, and reducing electrical costs (source). Lamps must always be fixed with a lamp guard and suspended from a stable support—not propped with clips or string.
Ventilation is non-negotiable: include a side mesh or vent grid (1/4 inch gaps) for airflow but not drafts.
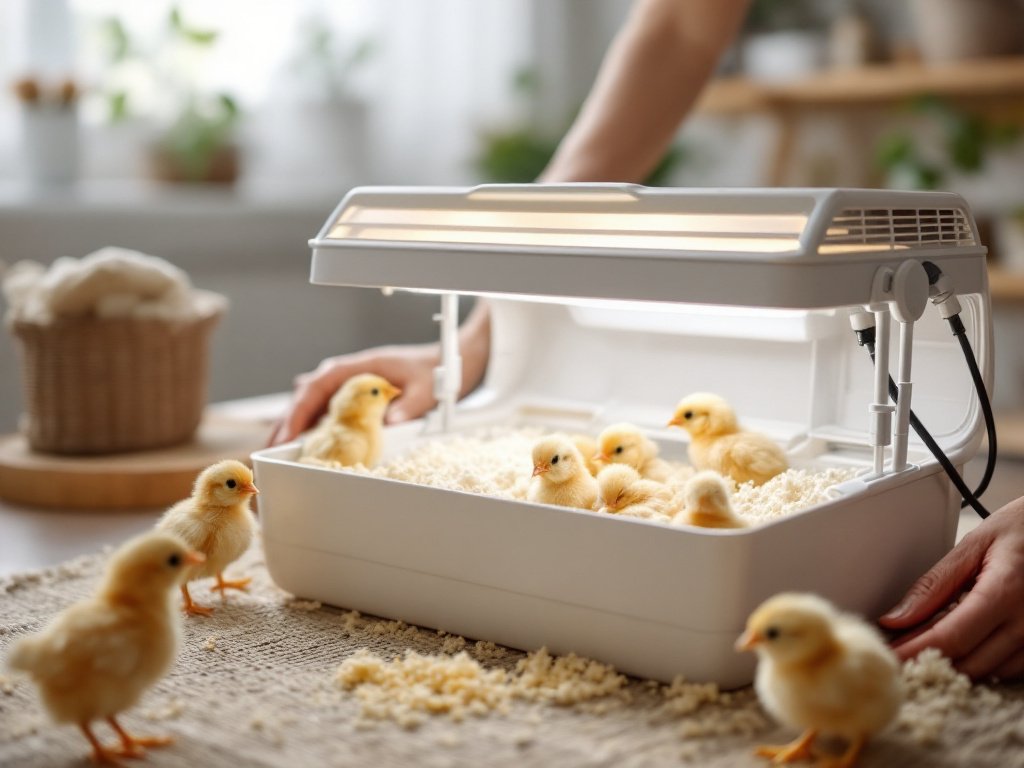
Use bedding that’s at least 2–3 inches deep—hemp or kiln-dried pine shavings are much less likely to cause respiratory or leg issues than newspaper or cedar shavings.
Still figuring out a sturdy, safe design? Check out these related guides:
Must-Have Safety and Health Features in Your Chick Brooder Setup
Most injuries and chick losses reported by owners tie back to missed safety basics. Here’s what should never be skipped in a chick brooder setup box:
- Overheat Protection: Thermostatic heat plates or heat lamps with working guards lower burn and fire risk. Avoid “bare bulb” setups at all costs (source).
- Escape Prevention: High enough sides (minimum 12–18 inches), tight-fitting lids or covers, and no gaps larger than a chick’s beak—otherwise chicks can jump, wedge, or escape.
- Ventilation: Mesh or vent grids (1/4 inch openings) in at least two sides. This limits ammonia and mold without causing cold drafts that chill chicks.
- Bedding Choices: Skip newspaper, shredded paper, or cedar shavings. Hemp or kiln-dried pine shavings, 2–3 inches deep, prevent spraddle-leg and trap ammonia from droppings (source). Clean every 3–4 days before odor builds up.
- Guarded Entries: Lids or mesh tops deter pets and keep in heat. If using an open brooder, cover at night with a clean towel or cardboard sheet to limit escapes.
Still comparing setups?
Top Owner-Reported Pitfalls—and How to Avoid Them
Learning from owner mistakes can help you avoid repeat disasters. Here’s what people struggle with most, and the real fixes:
| Pitfall | Problem Caused | Proven Solution |
|---|---|---|
| Unsecured or bare-bulb heat lamp | Fire hazard, scorched bedding | Switch to thermostatic heat plate, always use lamp guard, hang lamp high enough to keep heat safe and reduce burn risk |
| Slippery bedding (newspaper, glossy liner) | Leg deformities (spraddle leg), poor footing | Switch to 2–3 inch hemp or kiln-dried pine shavings + shelf liner base for first week |
| Blocked or missing vents | Ammonia, mold, respiratory issues | Add vent grids, mesh or slatted sides; monitor airflow daily |
| Too-small/lidless brooders | Chick escapes, injuries, chilling | Use lids or mesh covers, high sides, gaps under ¼ inch |
| Not cleaning bedding often enough | Mold, smell, health issues | Replace bedding every 3–4 days; spot clean in between |
Replacing bedding often and keeping the heat source secure are two solutions that nearly all experienced owners recommend (source).
If you’re troubleshooting a persistent issue, don’t miss this resource: Heat lamp safety chicken coop.
Three Critical Details Most Guides Miss
- Plan for Growth and Cleaning Access: Measure your setup so you can access every corner without climbing in. Place feeders directly opposite waterers—this builds healthy leg strength and keeps bedding dry (source).
- Bedding by Chick Age: For first 3–5 days, add a non-slip mat or liner under 1 inch bedding—boosts stability. After that, switch to 2–3 inches of hemp or pine shavings, adding more as chicks grow and bedding cakes.
- Maintenance Routines: Owners who replace bedding regularly as needed to keep it dry and sanitary and wash the box with warm, soapy water weekly report almost no mold or odor. Smooth, single-piece walls make this easiest—avoid boxes with seams or corners that attract grime.
- Escape-Proof Gaps: Side gaps must never be wider than a chick’s beak to cut down escapes and injuries. Double-check mesh and vent size.
Brooder Box Pricing: What to Expect by Tier
Brooder costs run a wide range. According to owner and manufacturer data:
- DIY Plastic Bins: $35–$55. Basic but reliable for small batches. Requires you to add vents, cover, and custom heat setup.
- Wooden/Metal Tanks: $70–$110. Durable, easy to clean, with better insulation—ideal for up to 30 chicks.
- Premium Insulated Kits: $130–$190. Purpose-built for easy-swap heat plates, feeders, and low-maintenance cleaning. Often pre-fitted with vent covers and escape-proof lids.
Consider what’s included—a quality chick brooder kit usually comes with a matched heat plate, feeder, and waterer, saving time and extra spend later.
Upgrading your setup? See more about feed and bedding at best chicken coop bedding guide.
Quick-Start Checklist: Setting Up Your Chick Brooder Safely
Here’s the sequence for a safe, no-fail brooder box:
- Choose brooder box size: at least ½ sq ft per chick up to week 2, and 1 sq ft per chick after.
- Add 2–3 inches bedding (hemp or kiln-dried pine). For days 1–3, put a non-slip mat or liner beneath.
- Mount heat source securely. Lamp (with guard) or low-wattage heat plate. Keep heat 12 inches above chick level.
- Set thermometer at chick level. Keep 90–95°F for week one. Lower 2–3°C each week.
- Install side mesh vents (¼ inch spacing). Monitor for ammonia smell and correct all gaps.
- Place feeder and waterer at opposite sides of box for chick movement and foot health.
- Replace bedding every 3–4 days. Spot clean daily. Deep clean box weekly.
- Cover at night. Check for chick escapes and injury hot spots.
Want a printable full setup plan? Our guide on chick brooder setup essentials covers the extra checklists.
Conclusion
Building the best brooder box for chicks means focusing on safety, space, and systemized cleaning above all else. By picking proven materials, dialing in your heating, and following real owner fixes, you’ll avoid the most common fail points fast. Ready to give your chicks the safest start?
Start building your brooder box with these tips now—your future flock will thank you.
Frequently Asked Questions about Chick Brooder Boxes
What size brooder box do I need for my chicks?
Allow at least ½ square foot per chick for the first 2 weeks. By week four, expand to 1 square foot per chick. For up to 30–40 chicks, a 48×48 inch brooder is common.
What’s the safest heat source: lamp or plate?
Heat plates are considered safer because they mimic hen warmth and massively lower fire risk compared to lamps. If you use a lamp, always secure it with a guard and hang it at least 12 inches above the chicks.
What bedding is best for chick health?
Hemp or kiln-dried pine shavings. Avoid newspaper or cedar—those can cause foot problems and respiratory issues. Make bedding 2–3 inches deep and replace every 3–4 days.
How do I prevent chicks from escaping?
Use a secure lid or mesh cover, keep brooder sides at least 12 inches high, and never leave gaps larger than a chick’s beak. Check covers daily as chicks grow and get more active.
How do I keep the brooder from getting smelly or moldy?
Install vent grids or mesh sides for airflow, use low-dust bedding, replace bedding every 3–4 days, and deep clean the brooder weekly with warm, soapy water. Monitor for ammonia or musty odors daily.