
As an Amazon Associate we earn from qualifying purchases. This article contains affiliate links; we may earn a small commission at no extra cost to you.
Grow fodder for chickens is not just a trending homesteader hack. It’s a proven, data-backed way to cut feed bills, diversify flock nutrition, and especially provide winter greens for chickens—if you understand the real costs, yields, and pitfalls. This guide delivers a transparent breakdown based on actual research, not vague online claims, so you can decide if home barley fodder and sprouted grains really pay off for your flock.
Key Takeaways
- Real home yields for barley fodder and sprouted grains average 3–6× seed weight, but success depends on controlling temperature and humidity—most DIY guides skip these details.
- Expect $0.30–$0.60 per pound for barley grain and manageable startup costs, but mold outbreaks and labor needs are the biggest risks.
- Increased egg production and year-round winter greens for chickens are possible, but factor in time, loss from spoilage, and varying productivity.
- Why Grow Fodder for Chickens?
- Step-by-Step: Setting Up Your Home Fodder System
- Barley Fodder vs. Other Sprouted Grains: Real Costs, Yields & Common Pitfalls
- Is Growing Fodder for Chickens Worth It? Honest Conclusion
- FAQ: Growing Fodder for Chickens
Why Grow Fodder for Chickens?
Growing fodder and sprouted grains for chickens gives your flock access to dense green nutrition year-round, even when your yard is frozen or picked clean. Backyard keepers often turn to barley fodder as a thrifty way to offset commercial feed—especially when they want fresh winter greens for chickens and a rapid nutrition boost for layers or broilers.
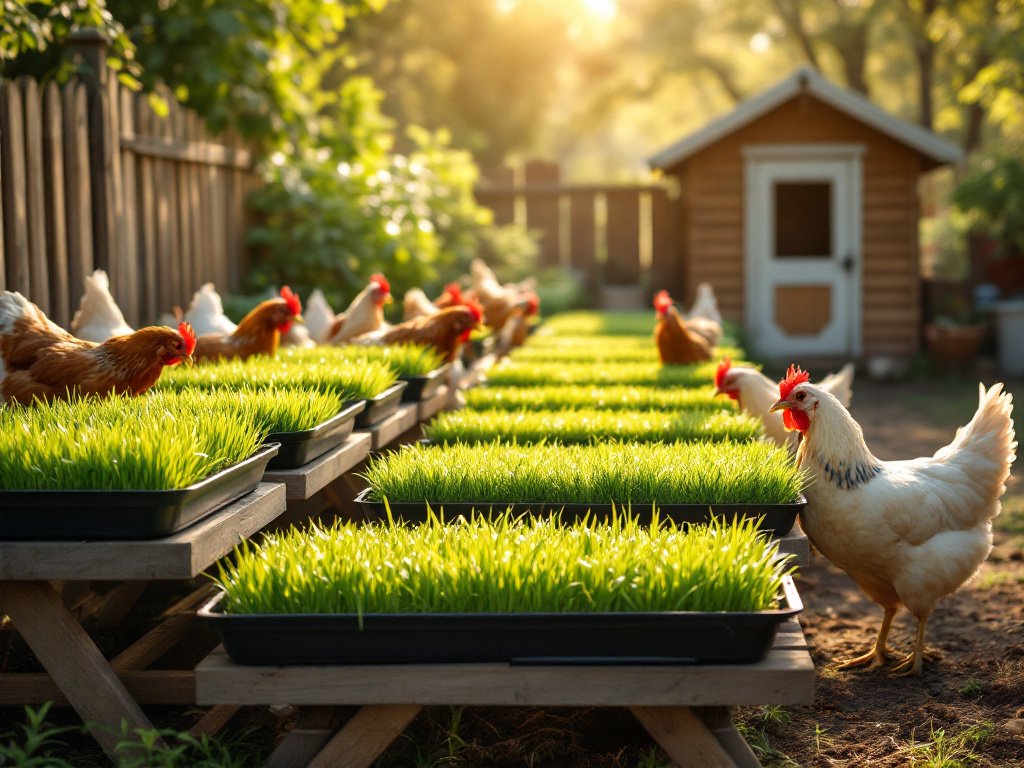
Unlike tossed scratch grain, sprouted fodder grows a solid mat of shoot, leaf, and root that can be chopped and fed directly. Fodder’s digestibility and vitamin content often improve compared to dry seed. According to FarmKeep, barley grain for chicken fodder usually costs $0.30–$0.60 per pound in the US, and one pound of seed gives about 6–8 pounds of fresh fodder under good conditions. That’s real leverage for your feed dollar, if you can maintain proper growing conditions and avoid mold.
Many owners use fodder as a regular supplement for their flock, or as an emergency tool when supply chains break or pastures run dry. For those struggling with poultry boredom or sparse winter runs, it’s a simple route to more eggs, brighter yolks, and better overall bird health—if executed carefully.
Step-by-Step: Setting Up Your Home Fodder System
Setting up a DIY fodder system is possible with just trays, clean water, grain seed (barley, oats, or wheat), and steady routines. Here’s exactly what works on a small home scale:
- Choose the right seed and container. Most keepers use barley grain (not birdseed barley, but feed-grade unhulled barley), oats, or wheat. Start with 1–2 lbs for a small flock. Use shallow trays (seedling trays or food-safe produce trays) with drainage holes. You’ll want 7 trays for a daily-rotation system.
- Soak your grain for 8–12 hours. Cover seed with cool water in a clean bucket. Skim off seeds that float (often hollow or dead). Drain completely before spreading in trays.
- Spread seed in trays ½–¾ inch thick. Too thick = more mold and poor yield. Aim for a loose, even layer in each tray.
- Stack trays in a bright, draft-free spot (or put on shelving). Natural light helps, but avoid hot windowsills. Maintain conditions near 19–22 °C (66–72 °F); reported suitable humidity ranges vary, so monitor for mold and ensure airflow (source).
- Water/rinse 2–4 times daily with fresh, cool water. All trays must be drained fully each time. Use a watering can, not a high-pressure hose. Avoid pooling anywhere.
- Harvest after 7–8 days, when roots are long and green shoots are 6–8 inches tall. Pull out the mat, cut if needed, and serve to chickens immediately. Rinse trays with hot water before refilling with new seed.
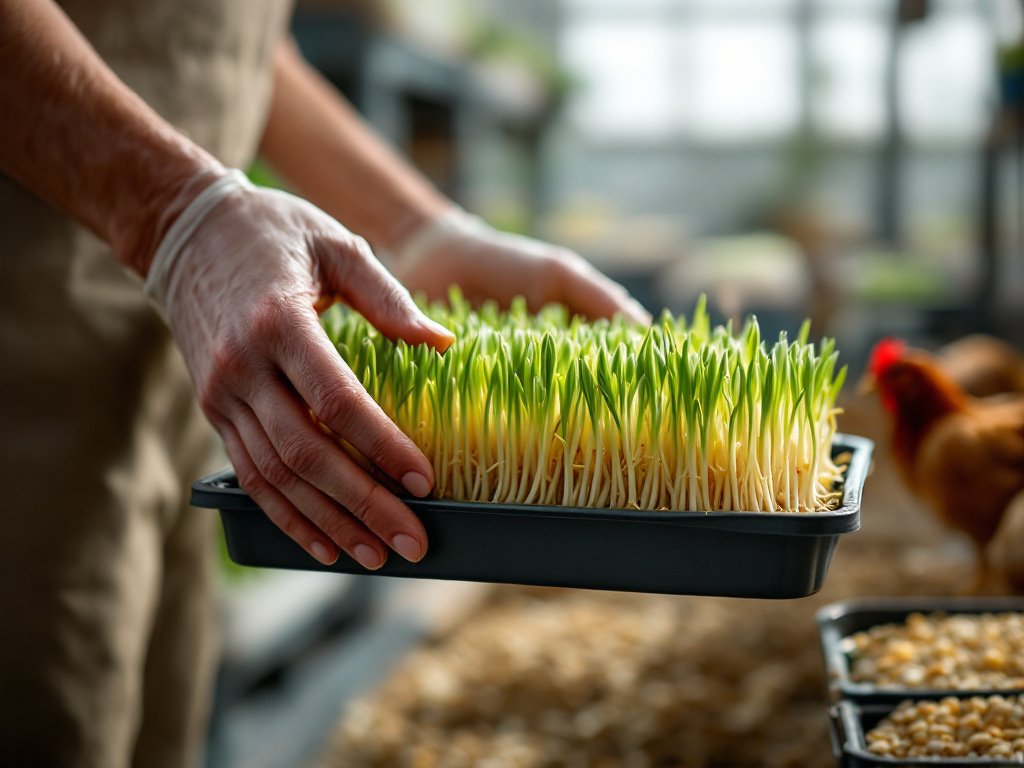
How Much Time, Space, and Seed Will You Need?
- Time: Rinsing takes 5–10 minutes daily for a small setup or up to 30 minutes on expansion. Most yield/mold issues arise from missed waterings or overflowing trays.
- Space: Tray yield varies with seed quantity and growing conditions; weigh your own harvest to estimate production. For 12 hens, a shelf stack fitting 7 trays (like a wire baker’s rack) is ideal.
- Seed & Water: A pound of barley seed can produce several pounds of fresh fodder, but yield varies with growing conditions and the fresh weight includes substantial water. Start small to avoid spoilage and dial in your routine.
Remember: Cold garages and hot sunrooms may swing temperature and humidity outside optimal ranges. Use a digital thermometer/hygrometer nearby. Many modern chicken coop thermometers, like ones listed in this roundup, will help you monitor the growing environment for your fodder trays too.
Common environmental pitfalls cause most crop failures. If fodder turns gray, smells sour, or feels slimy, compost that batch and reassess your method before trying again. Clean trays between cycles and never skip your daily rinses, especially in warm, muggy conditions.
Barley Fodder vs. Other Sprouted Grains: Real Costs, Yields & Common Pitfalls
Real-World Yield & Cost Comparison
| Metric | Barley Fodder (US/India data) | Other Sprouted Grains (Oats/Wheat) | What to Expect |
|---|---|---|---|
| Seed cost (per lb) | $0.30–$0.60 (source) | Often similar | Buy local feed-grade to save; avoid birdseed & pre-treated seed |
| Home yield ratio (fodder:seed) | 3–8.7:1 (India/Iraq studies: one got 3kg grass from 1kg grain; another hit 8.7:1) | Usually 3–6:1 | Expect lower end yields unless you perfect temp & humidity |
| Industry yield (claimed) | 6–8:1 (most reliable guides) | Similar but often lower | Home results rarely match industry numbers |
| Startup equipment cost | Low: trays, rack, water, space | Same | Reuse clean trays for best value |
| Mold risk | High, requires strict controls | High for all sprouted grains | Fresh air, clean water are essential |
| Typical labor (home) | 5–10 min/day for small scale | Similar | Scaling up increases time spent |
| Payback time | Very fast if yields are high and production up (see case: Claims of increased egg revenue should be evaluated against measured production, feed costs, and losses; no verified case is provided here.) | Varies | Depends on handling, losses, and flock size |
Pitfalls Most Backyard Owners Face
- Mold outbreaks: Without exact temperature/humidity control and fresh airflow, white fuzz or black spots develop fast. Mold is the number one reason people give up on home fodder systems (source). Common fixes: hydrogen peroxide rinse, careful tray cleaning, and more ventilation [see real user advice here].
- Spoilage: Stagnant water or over-thick seed layers turn trays slimy and smelly. Discard any batch with an off odor and wash up before starting again.
- Poor yields vs. industry claims: Home trials frequently report only 3:1 yield, half of the ideal six pounds of fresh fodder per one pound seed often seen online.
- Daily labor: Fodder is not “set it and forget it.” Even DIYers need to rinse/water multiple times daily—skip a day and you risk losing a whole week’s trays.
If you want winter greens for chickens and smoother egg output, pair your fodder setup with cold-hardy coop strategies from this winter chicken coop guide and tips for keeping chickens warm in winter (see here), especially if your fodder rack lives in an unheated shed or basement.
Is Growing Fodder for Chickens Worth It? Honest Conclusion
Results depend on local grain prices, seed quality, time, and controlling environmental variables. If you have a small flock, commit to strict daily rinses, and can stabilize temperatures, growing barley fodder and sprouted grains at home can cut winter feed bills and lead to bigger eggs or brighter yolks—at a cost that depends on local grain prices, equipment, labor, and spoilage. However, be realistic: exact yields vary, labor is daily, and mold risk is ever-present. If you want to grow fodder for chickens and maximize your cost savings, start with a few trays, log your yields, and use a digital thermometer/hygrometer from the start. When done right, home fodder is one of the most rewarding DIY poultry projects out there.
Ready to try? Start small, document your process, and don’t get discouraged by early crop loss. If you want smart upgrades for your setup, check out best no-waste chicken feeders, heated waterers for winter, and resources on space planning to keep your flock thriving all year.
FAQ: Growing Fodder for Chickens
How much barley fodder should I feed my chickens daily?
Most backyard owners offer fodder as a supplement, not a full feed replacement. Serve a small mat (about a handful per chicken) along with their standard ration to avoid imbalanced nutrition. Always monitor your flock—egg production and body condition are the best guides.
What’s the biggest risk when growing sprouted grains for chickens?
Mold outbreaks are the major reason small-scale systems fail. Without strict rinsing, airflow, and environmental control, trays can spoil fast. If you see fuzz, gray streaks, or smell anything sour, discard that batch and sanitize thoroughly.
Can I grow fodder in an unheated garage during winter?
Yes, but cooler conditions may slow growth; fodder can grow outside a single fixed temperature or humidity threshold. Use a greenhouse shelf or add a small space heater (if safe) to keep your growing area in the 21–26 °C sweet spot. Too cold leads to poor sprouting, while damp cold encourages mold.
Does barley fodder replace chicken feed entirely?
Most experts and research suggest fodder is best as a supplement. Sprouted grains don’t match the total protein, calcium, or micronutrients in formulated layer feed. For balanced nutrition and strong eggshells, keep your main ration in place and use fodder as a healthy bonus.
How do I prevent mold in my fodder system?
Clean trays between every batch, rinse seed and trays with hot water or a weak hydrogen peroxide solution, ensure complete drainage, and increase airflow around trays. Don’t stack trays too tightly, and never let water puddle on the floor below. If local mold pressure is high, growing outdoors in spring/fall may solve most problems.