
As an Amazon Associate we earn from qualifying purchases. This article contains affiliate links; we may earn a small commission at no extra cost to you.
How to compost chicken manure is a practical skill that every backyard chicken keeper and organic gardener should master to turn waste into nutrient-rich garden compost safely and affordably.
Key Takeaways
- Composting chicken manure transforms raw waste into a powerful, balanced garden fertilizer, but only if done correctly for safety.
- To kill pathogens and avoid burning plants, manage your pile with the right materials, carbon-nitrogen ratio, moisture, and thermophilic temperatures.
- Finished compost should be applied at least 90 days before harvesting non-ground-contact crops—and 120 days for crops that touch the soil.
- Why Compost Chicken Manure?
- What You Need to Start Composting Chicken Manure
- The Science: How to Compost Chicken Manure Safely
- Troubleshooting & Common Mistakes When Composting Chicken Manure
- How and When to Use Chicken Manure Compost in Your Garden
- FAQs About Chicken Manure Composting
Why Compost Chicken Manure?
Chicken manure is one of the most powerful natural fertilizers for the garden, rich in nitrogen, phosphorus, and potassium. However, raw or “fresh” manure poses risks—it’s extremely “hot,” meaning it can burn plant roots, and it may carry pathogens like Salmonella. That’s why learning how to compost chicken manure is so important. Proper composting transforms manure into a safe, stable fertilizer that boosts soil health, improves yield, and recycles valuable nutrients. Uncomposted manure can cause odor, attract flies, and leach harmful bacteria into your garden—making composting essential for safety and performance.
According to safe gardening guidelines, finished compost should be applied at least 90 days before harvesting crops that don’t touch soil (like tomatoes or peppers) and 120 days for crops that do (such as carrots or lettuce).
What You Need to Start Composting Chicken Manure
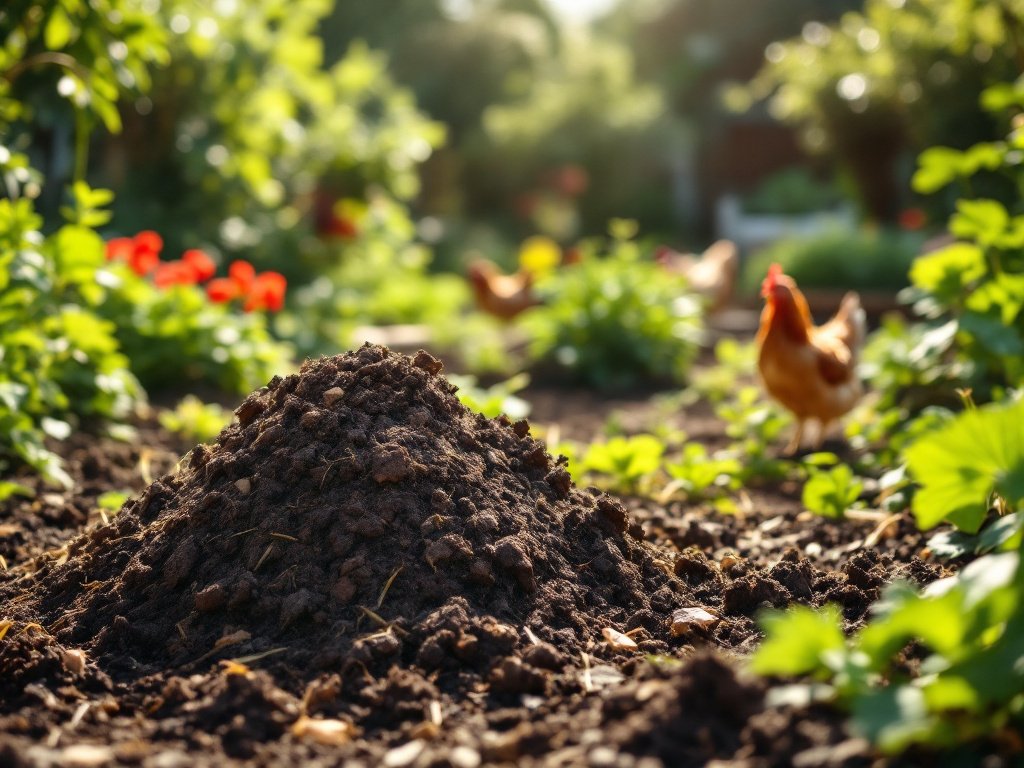
Getting started with composting chicken manure requires just a few essentials. First, you’ll need a space to set up your Compost Bin or Heap—at least a 3×3-foot area for small flocks. Most backyard keepers use the classic “garden compost chicken” system or a deep litter compost method, collecting used bedding along with droppings.
- Manure & Bedding: Gather soiled bedding from your coop—typically straw, wood shavings, or leaves. This helps balance chicken manure’s ultra-high nitrogen content.
- Carbon Materials: Additional dry carbon sources (fall leaves, sawdust, shredded newspaper) help achieve the ideal C:N ratio (more on this below).
- Compost Bin or Heap: For a 1 cubic yard “hot compost” system, expect to spend about about $100–$300 for an enclosed tumbler or DIY bin. Cold-aging piles can be done for the price of bedding and time (4–8 months’ wait). Source: Research Data
- Pitchfork or Aerator: For turning and mixing the pile.
- Thermometer (optional, but recommended): A basic compost thermometer (about $10–$20) is very useful.
- Water Source: For moistening dry piles—the goal is a damp sponge feel, not soggy or dry.
Upgrading to an insulated hot compost tumbler or building a multi-bin system will speed up decomposition and improve odor control, but basic open piles work fine if you can dedicate some space and time.
For more tips on keeping coops clean, see our detailed guide on cleaning a chicken coop.
You may want to consider deep litter compost systems for coop bedding. This approach lets you layer bedding and manure right in the coop and turn it in place. Check out recommendations for the best chicken coop bedding for effective odor and moisture control year-round.
The Science: How to Compost Chicken Manure Safely
Safe, effective composting comes down to getting the mix and the process right. The core idea: you want to balance “greens” (nitrogen-rich chicken manure) with “browns” (carbon-rich bedding or dry yard waste) for a pile that hits the ideal decomposition zone.
1. Achieve the Right Mix (C:N Ratio)
Chicken manure is extremely rich in nitrogen, so you need to mix in a lot of bedding or other “carbon” to get decomposition humming and prevent odor. Aim for a 25:1 to 30:1 carbon-to-nitrogen ratio. Typically, this means combining roughly 1 part manure to 2-3 parts bedding by volume.
2. Manage Moisture
The pile should feel like a wrung-out sponge—moist but not dripping. If it’s too dry, microbial activity stalls; too wet, and you’ll get odor and potentially harmful leachate. Add water or absorbent bedding as needed.
3. Build the Pile or Bin
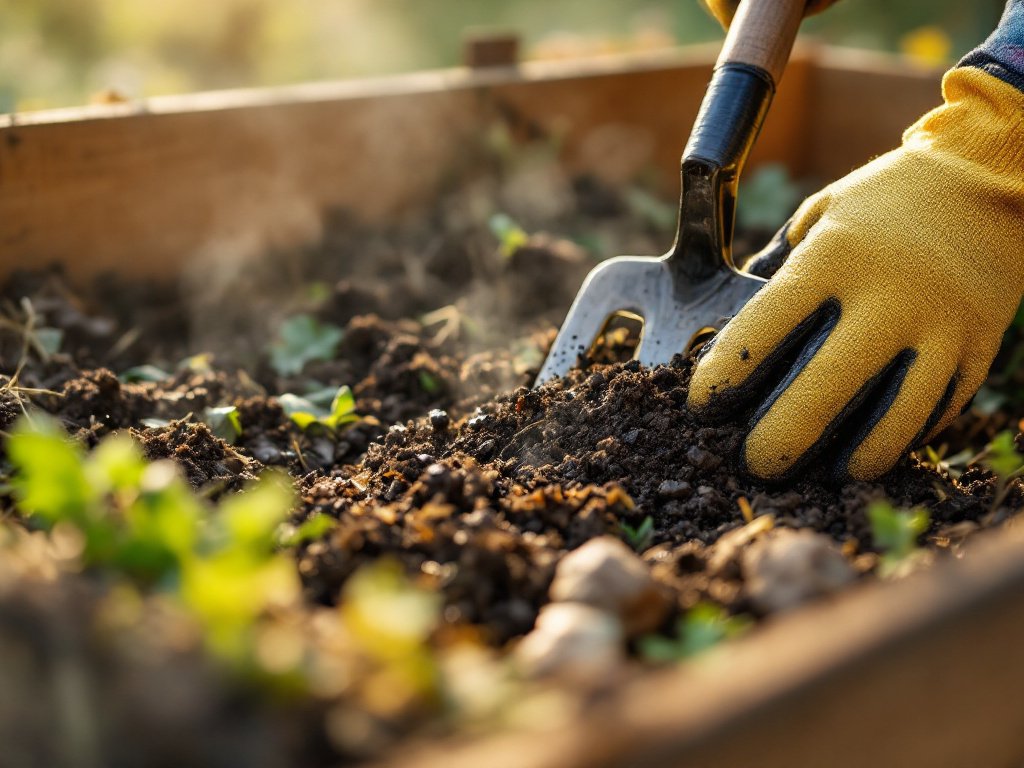
Layer manure-rich bedding with extra carbon, watering each layer if dry. The pile should be at least 3x3x3 feet to insulate and build heat. Enclose it for faster results and better pest/odor control. See NRDC’s guide on bins/structures for design ideas.
4. Hit the Hot Zone
Monitor your pile’s core temperature. You want at least 55°C (130°F); most home piles reach 130–160°F. For food safety, the pile should stay above 130°F for at least 3 days. Many gardeners maintain 140–160°F for several weeks. If it gets hotter than 160°F, cool the pile by turning and mixing.
5. Turn and Aerate
Turn the pile at least every about 5–7 days during active heating. Move the hot center to the edges and vice versa to ensure all material is exposed to high temperatures. This helps kill weed seeds and pathogens.
Let the pile “cure” for 2–12 months after the last heating phase—this stabilizes nutrients and produces an earthy, crumbly compost.
Alternative Approaches
If you prefer a low-effort approach, try the old-fashioned manure aging method: simply heap manure and bedding in a pile, keep it covered and moist, and wait 6–12 months. This results in safe compost, but requires more patience and monitoring for runoff/odor.
Want a faster system? Consider a hot compost tumbler, which can drastically reduce the time and effort required for regular turning.
For garden design that works well with this system, check our picks for the best chicken coop for cold weather to limit winter manure moisture headaches.
Troubleshooting & Common Mistakes When Composting Chicken Manure
Even with the right recipe, composting chicken manure presents a few common stumbling blocks. Here are three major problems, how to spot them, and what to do.
Avoid these pitfalls by following a simple routine: monitor temperature, moisture, and pile size at least once per week. Adjust your approach if something seems off. For upgrades that help (like windrow bins and hardware cloth sides), see our reviews of the best hardware cloth for chickens.
If you’re using the best chicken feeder no waste system, you’ll have drier manure and less spilled food in your pile, making composting even simpler.
How and When to Use Chicken Manure Compost in Your Garden
You’ll know your chicken manure compost is done when it’s dark, crumbly, and smells sweet and earthy—not like manure. Undecomposed bedding or manure odors mean it’s not finished and could still contain pathogens.
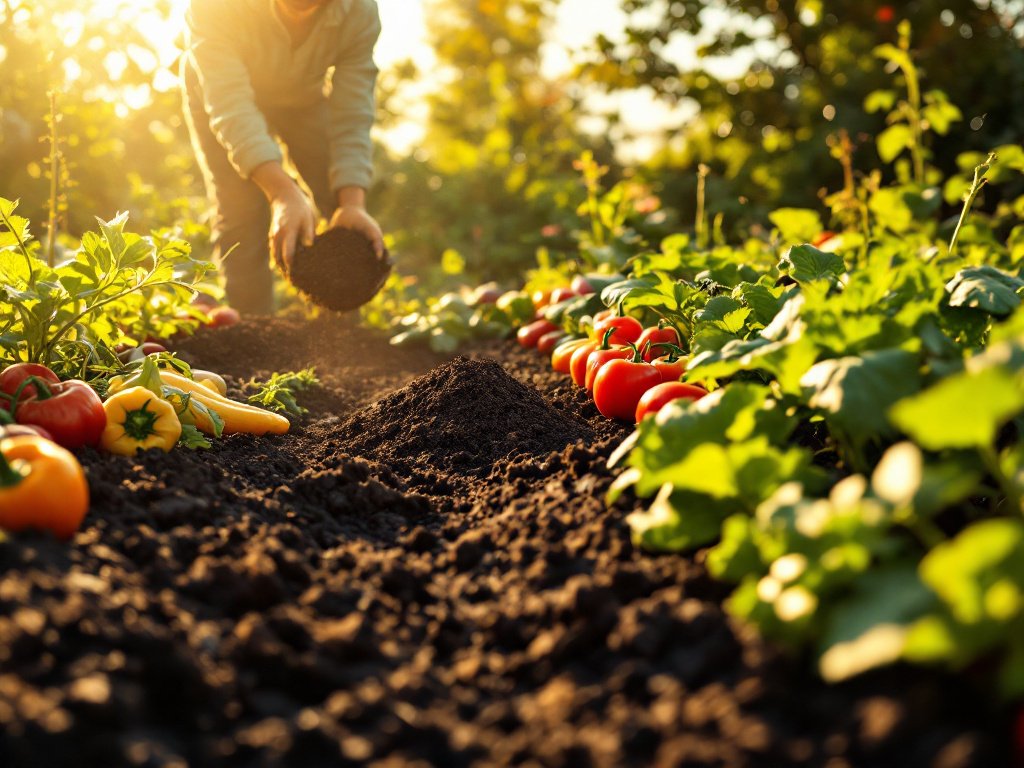
For food safety, apply finished compost at least 90 days before harvesting any crops that will not touch the ground, and at least 120 days prior for anything that does touch the soil, such as carrots or lettuce (see full safety protocol here). This aligns with federal produce safety guidance and reduces risk in the home garden.
- Work in about 1–2 inches of compost per year into garden beds for most crops—avoid direct contact with edible parts of leafy greens or root crops.
- Side-dress fruiting plants (like tomatoes or squash) with compost each season to boost flowering and yields.
- Top off perennial beds and shrubs in early spring or late fall for slow-release nutrition.
Follow these tips and you’ll turn coop waste into reliable, money-saving garden compost chicken owners are proud of using.
For more garden and flock tips, read our guides on keeping chickens warm in winter and introducing new chickens to your flock.
FAQs About Chicken Manure Composting
Can I put fresh chicken manure directly onto my garden?
No—fresh chicken manure is too high in nitrogen and can burn plants. It may also contain harmful pathogens. Always compost or age it thoroughly before use.
How long should I compost chicken manure before using it?
If hot-composting (pile reaches at least 130°F for 3+ days), allow an additional 45–60 days curing after heating. For cold-aging, wait 6–12 months to ensure safety.
What is the best bedding material for composting with chicken manure?
Straw, sawdust, wood shavings, shredded leaves, and even paper can work well. The goal is to add enough carbon to achieve a roughly 25:1–30:1 C:N ratio.
How can I tell the compost is done and safe?
Finished chicken manure compost is dark, loose, and earthy-smelling. There should be no visible bedding or fresh-dropping odor. When in doubt, give it extra curing time.
Can chickens help turn the compost pile?
Yes, chickens can help mix the pile if you let them scratch at the edges, but you’ll still need to turn the entire pile periodically for full, even composting.
Sources
- FDA: Raw Manure under the FSMA Final Rule on Produce Safety
- USDA AMS: Soil Building – Manures & Composts
- USDA AMS Organic Handbook 5006: Processed Animal Manures in Organic Crop Production
- USDA NRCS: Chapter 2 Composting
- Mississippi State Extension: Composting Manure from Small Poultry Flocks
- University of Nebraska-Lincoln Extension: Composting Manure and Other Organic Materials