
As an Amazon Associate we earn from qualifying purchases. This article contains affiliate links; we may earn a small commission at no extra cost to you.
How to trim chicken nails is one of those necessary flock care skills every backyard chicken owner needs, but most avoid until an overgrown claw, odd walk, or painful scratch appears. If you want your chickens to stay active, happy, and healthy—without expensive vet bills—learning safe, cost-conscious chicken nail care is a game-changer.
Key Takeaways
- Regular chicken nail care prevents painful overgrowth, postural issues, and foot injuries.
- Trimming tools for chickens are affordable and easy to use—most owners use sanitized dog nail clippers or similar household tools.
- Safe trimming comes down to stabilizing the bird, trimming little by little, and having a quick stop supply on hand for accidents.
- Why Chicken Nail Care Matters
- Choosing the Right Chicken Nail Trimming Tools
- Step-by-Step Guide: How to Trim Chicken Nails Safely
- Troubleshooting Common Problems (Bleeding, Overgrowth, Stress)
- Prevention and Long-Term Chicken Foot Care
- Overlooked Insights: What Most Guides Miss About Chicken Nail Trimming
- Frequently Asked Questions About Chicken Nail & Spur Trimming
Why Chicken Nail Care Matters
Regular chicken nail care is more than just a beauty routine—it’s critical for your flock’s comfort, joint health, and overall well-being. Overgrown chicken nails can change how a hen or rooster walks, leading to joint pain, posture problems, and even cracked or split nails that open the door to infections (source). Chickens with long or sharp nails are also more likely to scratch themselves, their coop mates, or even you.
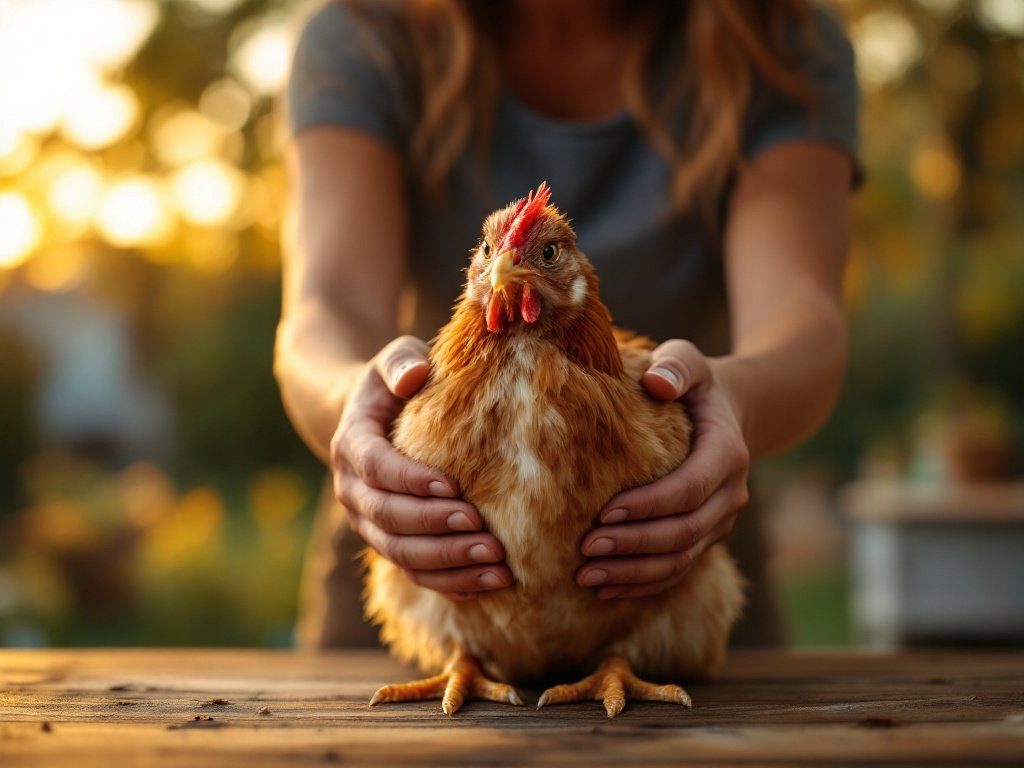
Untrimmed nails or spurs can even impact a chicken’s ability to perch properly, causing unnecessary stress and making foot problems like bumblefoot more likely. How often chickens need nail trims depends on how quickly their nails wear down; trim as needed, but this simple habit prevents a host of bigger (and more expensive) problems down the road.
Want to learn how to keep your flock thriving in every season? Check out our practical guides for winter chicken coop and cold weather chickens to set up a healthy, comfort-driven coop year round.
Choosing the Right Chicken Nail Trimming Tools
Picking tools for how to trim chicken nails is straightforward and budget-friendly. Many owners use standard dog nail clippers or small animal trimmers—just be sure to sanitize them before each use. You’ll find three main types of chicken nail trimming tools in most households or farm stores:
- Manual clippers (scissor or plier style): Inexpensive, widely used. Available for $5–$25. These offer the control and size needed for chicken claws. Mid-range models often come with a safety guard ($8–$15) to prevent accidental deep cuts (source).
- Guillotine clippers: Designed for clean, precise cuts—good for smaller birds or thin nails, but can crush thick claws if not sharp or properly sized (source).
- Electric grinders: Useful for those with unsteady hands; help smooth edges. Budget models start around $20 and up. Grinders are less commonly used for chickens but can help on dense spurs or stubborn/thick nails.
Always look for clippers or grinders with safety guards and comfortable non-slip grips. An appropriately sized pair of nail trimmers is usually sufficient for backyard chickens—as long as the blades are sharp and clean. Garden Betty recommends keeping styptic powder, cornstarch, or flour nearby to help stop bleeding if you nick the quick.
A few things to keep in mind:
- Dull blades can crush or splinter a nail, causing pain and injury.
- Handles without a spring may be awkward if you have a big flock—consider spring-loaded grips for efficiency.
- If you plan to trim occasionally and keep tools clean, even budget options can last for several years. Just replace them when they get dull or rusted.
Need gear recommendations for the rest of your chicken setup? Don’t miss our honest picks for a predator proof door and no-waste chicken feeder to save time and money on daily chores.
Step-by-Step Guide: How to Trim Chicken Nails Safely
Whether you have one tame chicken or a nervous backyard flock, following a clear, calm process makes how to trim chicken nails simple—even for beginners.
- Gather your supplies: Clean, sharp clippers; rubbing alcohol pads to sanitize; styptic powder, flour, or cornstarch for clotting in case of bleeding.
- Secure your chicken: Hold both ankles with one hand and work one toe at a time. If you’re alone, wrap the bird in a towel with just the foot exposed.
- Inspect each nail and spur: Look for points, length, and signs of cracking or curling. If you see the quick, plan to leave a safe margin before it.
- Trim gradually: Clip off small amounts, always avoiding the quick—which appears as a pink center in light nails, or as a subtle texture change in dark nails. Never force clippers through hard resistance.
- Smooth rough edges: Optional but helpful, especially on sharp spurs; use a nail file or grinder if desired.
- Address accidents quickly: If you nick the quick, immediately apply styptic powder, flour, or cornstarch, and apply gentle pressure until bleeding stops (source).
- Reward your bird: Offer a favorite treat or calm cuddles. This makes next time easier.

How often healthy chickens need nail trims depends on their activity, nail growth, and environment. But breeds that spend lots of time on soft bedding or aren’t scratching outdoors may need more frequent trims.
For more flock-friendly health tips, read our rundown of coop bedding essentials and winter waterers to keep your birds comfortable and safe in tough seasons.
Troubleshooting Common Problems (Bleeding, Overgrowth, Stress)
Even with the best prep, chicken nail care isn’t always smooth. Here’s what to expect—and how to handle it:
| Issue | What Happens | Simple Fix |
|---|---|---|
| Accidentally cut the quick | Bleeding, bird may pull foot away or act startled. | Apply styptic powder (or cornstarch/flour) and pressure; bleeding usually stops in minutes. Disinfect and watch for infection. |
| Nails very overgrown | Quick has grown out longer, can’t trim back all at once. | Trim a little every few weeks; this lets the quick recede safely (source). |
| Chicken stressed or panicking | Flapping, vocalizing, resisting being held. | Use towels, talk softly, finish quickly. Give treats after to reduce anxiety for next time. |
| Dull clippers crush nails | Nail splintering or pain on pressure. | Always use sharp, well-maintained clippers. |
Severely overgrown chicken nails—often seen in older birds, rescues, or indoor/backyard-only flocks—may need three or more trim sessions, each spaced out by a few weeks. This lets the quick recede naturally. Nail splits, infected areas, or pus require a closer look; when in doubt, consult a poultry-savvy vet.
Set a reminder to check nails during big seasonal maintenance, like your deep coop cleaning days or when you clean feeders and waterers. Preventovergrowth by making it part of your annual health routine.
Prevention and Long-Term Chicken Foot Care
Great chicken foot care and healthy nails start with a flock-friendly environment:
- Natural trimming: Sand, gravel, and rougher outdoor ground will “file” nails naturally. Birds housed on soft shavings or deep bedding may need trims more often.
- Proper roosts: Hardwood or slightly textured roost bars help wear down nails and spurs. For advice on safe perches see our roosting bar height guide.
- Consistent inspections: Check feet and nails during big flock checkups (usually once or twice a year) (source).
- Foot baths and dusting: Encourage dust bathing for healthy skin and less buildup on claws. If you spot dirt, scabs, or crust, check for other problems like mites or bumblefoot. Our guides on scaly leg mite treatment make this easy.
Regular nail trims (once or twice a year) plus good perches, active scratching space, and attentive observation keep chicken nails—and the rest of your flock—healthy and low stress year after year.
Overlooked Insights: What Most Guides Miss About Chicken Nail Trimming
- Tool Maintenance & Sanitization: Almost every guide mentions rinsing clippers, but few talk about the importance of disinfecting with rubbing alcohol between birds—critical for stopping the spread of disease, especially after trimming infected or crusty nails (source).
- Hidden Health Issues: Overgrown nails sometimes hide scabs, redness, or lumps from bumblefoot or mites. Always use nail trims as a chance to check for subtle signs of trouble before they become emergencies. If you’re concerned by something odd, see our chicken health check guide for early warning signs.
- Reducing Chicken Stress: Calm, gentle handling is not just for your peace—the less you startle a chicken during nail trimming, the less likely she is to panic or get injured. Use a quiet, familiar space, wrap with a towel for leverage, and finish with a favorite treat. This helps chickens see nail care as just another part of their regular day, not a scary event.
If your roosters need spur trims, the same principles apply: keep the bird stable, use sharp tools, and trim only small amounts to avoid bleeding.
Frequently Asked Questions About Chicken Nail & Spur Trimming
How do I know when my chicken’s nails or spurs need trimming?
If you see nails curling, sharp points, nails touching the ground at rest, or notice your chicken standing or walking awkwardly, it’s time for a trim. Spurs that are affecting how a rooster walks or interact with other birds should also be shortened.
Can I use human nail clippers or do I need a special tool?
Small animal or standard dog nail clippers are preferred for chicken nail care, since they’re the right size and have strong blades. In a pinch, large human toenail clippers can work for bantams or chicks. Always sanitize before and after use.
How can I stop my chicken from stressing out during nail trims?
Wrap your bird in a towel, work calmly and efficiently, and offer treats right after. Keeping handling short and gentle makes future trims less scary for both you and your flock.
How often should I check or trim chicken nails?
Most backyard chickens only need trims once or twice a year, but inspect feet and nails whenever you notice odd walking or scratches. Birds on soft surfaces may need more frequent trims.
Are safety guards on clippers really needed?
Safety guards and spring-loaded grips give extra control and help prevent deep accidental cuts. Many vets and experienced owners prefer clippers with guards for safe, confident chicken nail trims (source).
Conclusion
With the right tools, a calm approach, and a few tried-and-true steps, how to trim chicken nails becomes a low-stress, affordable part of backyard chicken care. Regular trims prevent costly health issues and keep your flock comfortable all year long. Start slowly, keep your supplies handy—and don’t forget your reward treat when you’re done. Ready to master more flock skills? Dive into our best egg incubator guides or discover how to set up your brooder for a thriving flock from the start.