
As an Amazon Associate we earn from qualifying purchases. This article contains affiliate links; we may earn a small commission at no extra cost to you.
Best chicken coop flooring can make or break the health, odor, and long-term upkeep of your flock. Most guides gloss over costs, hidden failure risks, and what actually makes cleaning or repairs easy—so this is your no-nonsense breakdown of what lasts, what fails, and what’s truly worth your money for small-scale and backyard chicken keepers.
Key Takeaways
- Concrete, sealed wood, engineered panels, and select vinyl/linoleum are the longest-lasting and easiest to clean—but vary widely in cost and installation needs.
- Ignoring moisture control, poor drainage, or cheap materials leads to pest trouble, ammonia smell, and costly rot repairs. Floor insulation and environmental safety are often overlooked.
- Material cost varies by material and region; sheets are commonly cut from 4×8 panels to fit typical coops, with lifespan depending on climate, use, and preventive setup.
- What Makes the Best Chicken Coop Flooring?
- Chicken Coop Floor Options Compared: Dirt vs Wood vs Vinyl (and Beyond)
- Real-World Cost Breakdown and Sizing for Chicken Coop Floors
- What Can Go Wrong? Top Chicken Coop Flooring Failure Modes (and How to Fix Them)
- Missing Answers: What Most Coop Floor Guides Don’t Tell You (But Should)
- Maintenance Cheatsheet: Keeping Your Chicken Coop Floor Clean and Healthy
- Which is the Best Chicken Coop Flooring for You? (Decision Guide)
- FAQ: Chicken Coop Flooring
What Makes the Best Chicken Coop Flooring?
For most practical flock owners, the best chicken coop flooring comes down to durability, easy cleaning, moisture resistance, pest and odor control, and chicken safety. Durable floors—like concrete slabs, sealed wood panels, or engineered moisture-resistant panels—save money and labor over years. Easy-to-clean floors minimize daily chores and reduce disease risks. Moisture management is critical: trapped water quickly turns subfloors to mush or concrete to mold magnets. Pests, especially rodents, thrive in cracks and under dirt or warped boards. Finally, any flooring should be non-toxic and non-slip, to keep your hens healthy and uninjured. According to cost guides,
“Coop flooring typically varies by material and region; full subfloor (OSB/plywood) and concrete slabs can both fall within wider installed-cost ranges depending on site prep and finish.”
Chicken Coop Floor Options Compared: Dirt vs Wood vs Vinyl (and Beyond)
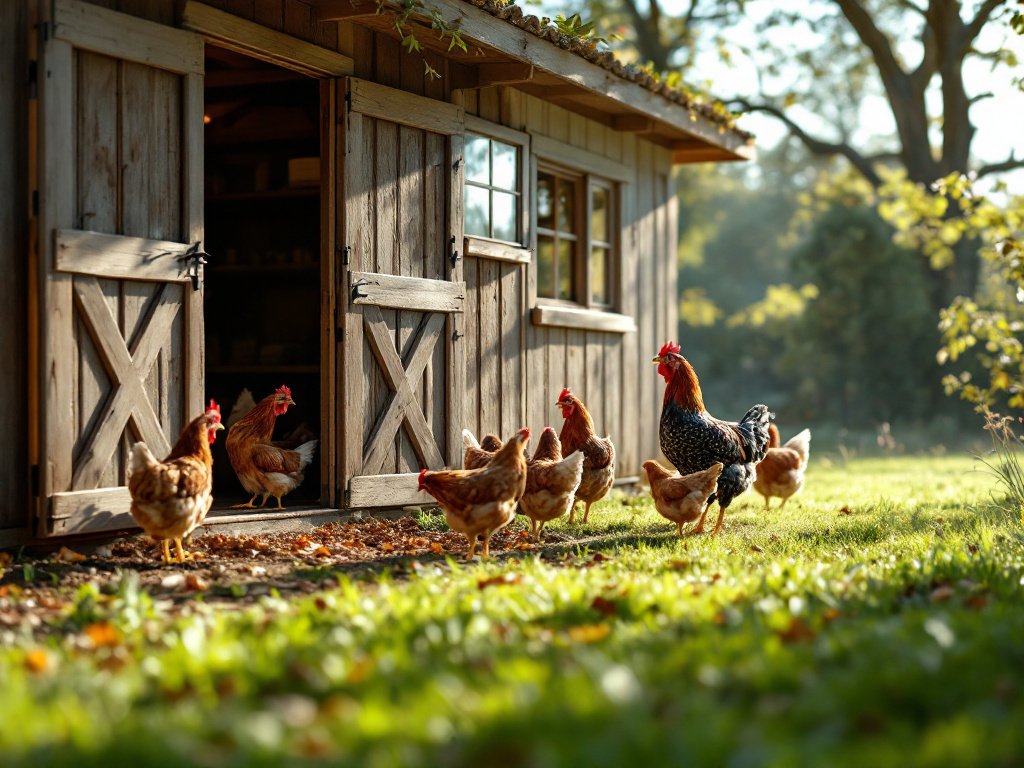
Let’s break down core coop floor options—dirt, wood, vinyl/linoleum, engineered panels, and concrete—across cleaning effort, lifespan, cost, and flock health:
- Dirt: Cheapest to set up, but lasts only a few years. Needs deep litter management, frequent turning, and constant pest vigilance. Odor can be tough in wet climates. Best for ultra-low budgets or temporary set-ups.
- Wood (OSB/Plywood/Subfloor): Moderately priced (OSB cost varies by thickness and market; material-only OSB is typically priced per 4×8 sheet rather than at a fixed per-square-foot rate), lasts 15–30 years if well sealed. Requires vapor-barrier underlayment to avoid rot and warping. Repairing isolated rot or splinters is easier than replacing concrete. Needs inspection and resealing every year or two.
- Vinyl or Linoleum: Makes for an easy clean coop floor that is simple to sweep and mop. Linoleum (true linoleum, not vinyl) is safest for birds. Lifespan is about 10–15 years for vinyl, up to 20–30 years for linoleum over subfloor. But vinyl can off-gas toxic compounds if torn or abraded, so choose carefully.
- Engineered Moisture-Resistant Panels (e.g., DRIcore, Amdry): varies by product, thickness, and installation costs. Designed for basements but great for chicken coops, combining moisture and thermal protection (source).
- Concrete: Long lifespan, but higher cost than basic wood or dirt floors; installed prices vary widely by region and slab thickness. Power-washable, pest-resistant, requires proper sloping for drainage and can feel cold in winter. Often paired with removable bedding for comfort and insulation.
“Expected lifespans vary by material, climate, and maintenance; concrete and well-maintained sheet goods can last many years, while dirt floors require frequent pest and droppings management.”
Reference: Ultimate Guide to Chicken Coop Flooring
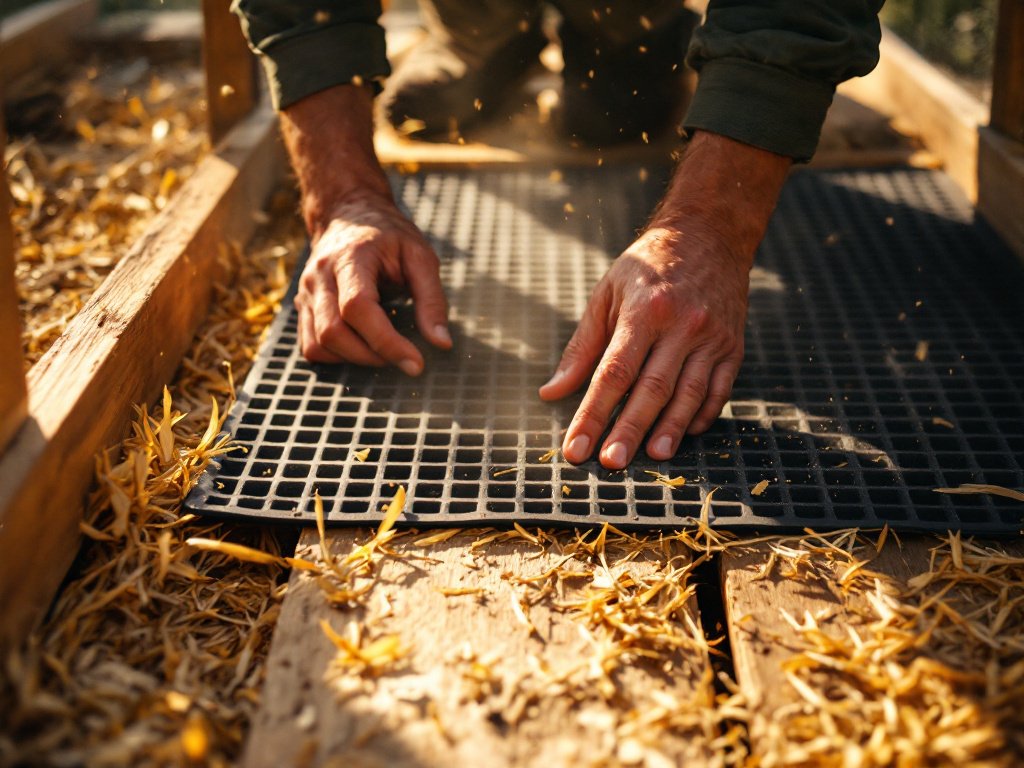
If your flock is on the move in a chicken tractor or portable coop, lighter subfloor panels or a deep sand base can work. For fixed coops, spend on what you can’t change easily: proper underlayment, sealed seams, and proven moisture control matter more than “pretty.”
Want to choose the right size? Most flooring comes in 4×8 foot panels, which you can cut down to fit coop footprints of 4×6 or 6×8—check our best chicken coop for 6 chickens guide for real-world sizing tips.
Real-World Cost Breakdown and Sizing for Chicken Coop Floors
Flooring costs surprise many first-timers. Here’s what to expect for installed price per sq ft and sizing:
| Floor Type | Material Cost (Installed) | Lifespan (expected) | Sold As |
|---|---|---|---|
| Concrete Slab | $6.00/sq ft | 20–30 years | Pour in place, any size |
| Sealed Wood/OSB | $2.20 (OSB), $4–$5.80 (installed, subfloor) | 15–30 years | 4×8, cut to 4×6/6×8 |
| Vinyl Sheet | Varies; 10–15 years | 10–15 years | Roll, 6–12 feet wide |
| Linoleum Sheet | Varies; 20–30 years | 20–30 years | Roll, 6–12 feet wide |
| DRIcore/Amdry Panel | $2.75–$4.75/sq ft | 15+ years | 2×2 or 2×4 panels |
| Dirt | Minimal cost | A few years | In place, add bedding |
Almost all panels can be cut to 4×6 or 6×8 to fit most backyard coops. Material sourcing for best results: buy from reputable suppliers, and read online reviews for quality. Bargain sheets are often lower grade and less moisture-proof.
Subfloor systems (such as DRIcore, Amdry, see cost breakdowns here) provide an easy upgrade path for pest and moisture blocking if you’re converting a shed or garage into a coop.
OSB averages $2.20 per square foot, and most sheets are sold in 4 × 8 pieces. Modular panels like DRIcore or Amdry cost $2.75–$4.75 per square foot installed. Dirt and sand are cheapest if your flock rotates through, but plan for heavy ongoing labor and bedding replacement.
What Can Go Wrong? Top Chicken Coop Flooring Failure Modes (and How to Fix Them)
Even with the “best chicken coop flooring,” there are common reasons coops fail—or succeed long-term. Here’s what to look out for and how to fix issues before they get costly.
- Moisture: Water spills, leaks, or poor drainage rot wood subfloors and breed mold in both concrete and wood.
How to fix: Always use a vapor-barrier underlayment and moisture-resistant panels. Slope concrete for runoff, add guttering, and manage bedding moisture. - Odor/Ammonia Buildup: Wet litter releases ammonia, which causes respiratory risk for chickens and humans.
How to fix: Use extra-absorbent bedding, such as pine shavings; maximize natural or fan-based upper ventilation. See our picks for the best coop deodorizer for more help. - Pests: Rodents, mites, and snakes often infiltrate via cracks, seams, or under poorly edged dirt floors.
How to fix: Seal seams and edges with construction adhesive, use tightly woven hardware cloth beneath dirt/coops, and opt for non-porous materials if possible. Refer to how to predator-proof your coop for in-depth fixes. - Floor Deterioration: Dirt floors break down within a few years. Unsealed wood rots fast in wet climates. Vinyl tears under sharp grit or bedding; torn seams collect waste and harbor pests.
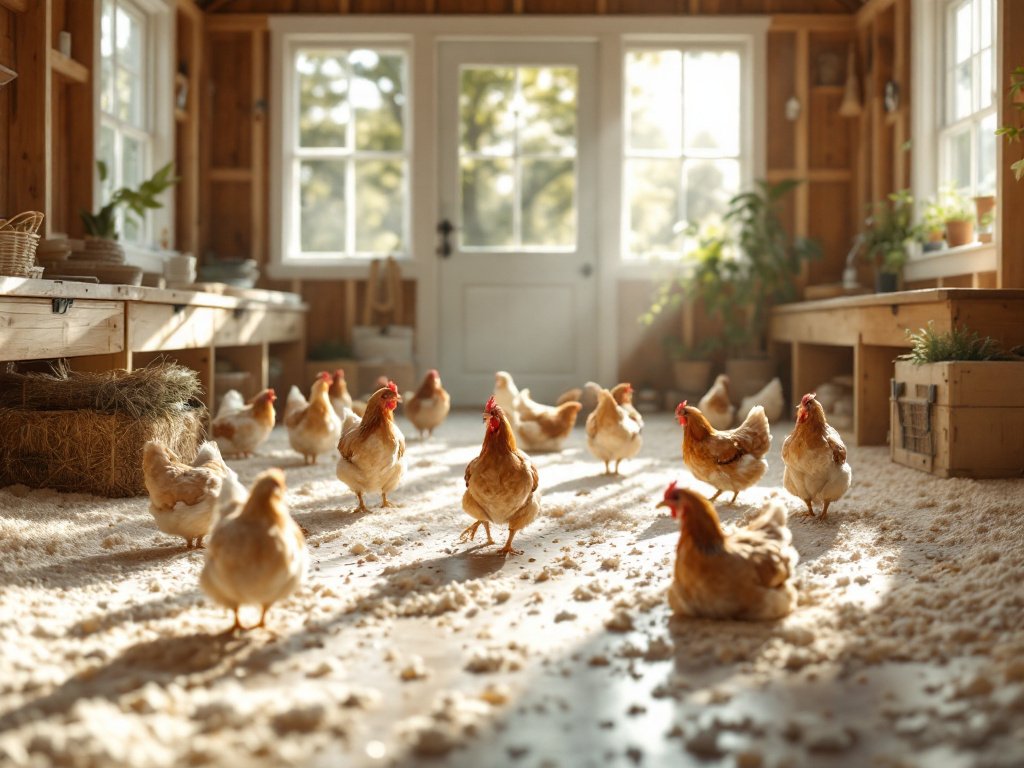
“Moisture causes wood rot and mold, fixed by vapor-barrier underlayment/moisture-resistant panels; Odor build-up (ammonia) triggers respiratory risk, mitigated by absorbent bedding and ventilation; Pests hide in cracks or dig under dirt, resolved by sealing seams, using metal edging, and non-porous floor choices.” (see source).
For expert long-term results: regularly check for “soft spots” in wood, seepage under concrete, and gaps along floor edges. Routine sealing, aggressive cleaning, and robust hardware cloth barrier below dirt floors are not optional if you want your setup to last.
Missing Answers: What Most Coop Floor Guides Don’t Tell You (But Should)
Most guides miss three crucial things that matter for chicken health and lifelong coop performance:
- Thermal insulation matters: In cold weather, a non-insulated concrete slab or thin plywood gets bitterly cold and drains the chickens’ warmth. In hot climates, vinyl/trapped moisture worsens heat stress. Floor-integrated insulation beneath panels or as part of engineered subfloor is worth the cost in comfort and egg production. See our cold weather coop tips: best chicken coop for cold weather.
- Drainage and Slope: Flat floors, especially in wood or concrete, risk pooling water and never fully drying. Good coop design should include a slight grade and perimeter drainage to move water away.
- Environmental health impact: Many common flooring choices (especially low-quality vinyl) release VOCs or cannot be safely recycled at end of life. True linoleum is less toxic, and high-density panels are more eco-friendly. Consider end-of-life disposal—don’t just focus on cheapest installed cost.
“Most consumer guides omit floor-integrated insulation, climate-adapted bedding strategies, and environmental impact comparisons like VOC emission and recyclability.” (source)
Maintenance Cheatsheet: Keeping Your Chicken Coop Floor Clean and Healthy
Here’s what builds an easy clean coop floor—no matter your budget:
- Dirt: Rake bedding and droppings out weekly. Replace or add fresh litter often. Monitor for standing water and correct drainage paths after storms.
- Wood/OSB: Sweep daily, mop with diluted mild detergent as needed. Inspect for splinters, rot, or warping each season. Reseal with non-toxic deck sealant yearly. Avoid soaking or standing water.
- Vinyl Coop Flooring: Sweep debris daily, mop gently with mild cleaner. Avoid bleach or ammonia cleaners (toxic if fumes build). Check often for cuts or separated seams—promptly patch any damage. Keep sharp objects and grit off the surface to avoid tears.
- Engineered Panels: Similar to wood but even easier—be sure seams are tight and surface is free of warping. Most panels can be swept, mopped, and even power washed if bedding is removed.
- Concrete: Sweep daily, shovel out dirty bedding, hose down or power wash (outdoors). Ensure top bedding remains dry in cold or wet seasons to avoid chill stress.
“Vinyl floors are easy to mop but should be kept free of sharp objects and avoid harsh cleaners due to toxicity risk; dirt needs frequent raking and drainage; wood requires periodic sealing/inspection.”
For a full deep clean, refer to our how to clean a chicken coop guide.
Pair proper maintenance with the right bedding and ventilation for best long-term results.
Which is the Best Chicken Coop Flooring for You? (Decision Guide)
Not sure what to pick? Use this practical scenario guide to match coop floor options to your needs:
-
Want maximum durability, minimal pest worry, and don’t mind higher up-front cost?
Concrete slab, insulated and properly sloped, will last 20–30 years and is power-washable. Expect ~$6/sq ft. -
Need a balance of cost, repairability, and comfort?
Sealed wood or OSB with linoleum (not vinyl) on top gives 15–30 years of service if you protect against leaks. $2.20–$5.80/sq ft installed. -
Live in a damp climate or need a raised floor?
Engineered panels (DRIcore, Amdry) ($2.75–$4.75/sq ft) provide built-in vapor/thermal barrier and are easy to fit for DIYers and shed conversions. -
On a tight budget, keeping a moveable flock?
Dirt with deep litter can work, but expect high labor and to replace floors every few years. Secure with buried hardware cloth against digging pests.
No single “best chicken coop flooring” fits every owner, but paying attention to installed cost per sq ft, floor lifespan, and real cleaning needs pays off. If in doubt, start with quality OSB or subfloor panels and upgrade to linoleum or insulated panels if humidity and odor become problems.
Consider reading our related guides on cold weather coops, predator-proofing, coop bedding, and coop deodorizers for the best results.
FAQ: Chicken Coop Flooring
What is the cheapest flooring for a chicken coop?
Dirt floors cost the least to set up but require more bedding and frequent cleaning. They can invite pest problems if not lined with hardware cloth. OSB or plywood is a cost-effective compromise that lasts much longer with proper sealing.
Is vinyl flooring safe for chickens?
Most commercial vinyl can leach toxic compounds and is risky if torn or chewed by birds. Linoleum is a safer non-toxic alternative. If you use vinyl, select low-VOC or poultry-approved products and avoid cracks or peeling edges.
How often does chicken coop flooring need to be replaced?
Well-sealed wood, linoleum, and concrete floors last 15–30 years with basic care. Dirt and sand need partial replacement every few years. Vinyl typically lasts 10–15 years but may fail sooner if abused.
What is the most hygienic chicken coop floor?
Concrete, engineered panels, and linoleum make the easiest clean coop floors. Non-porous surfaces resist droppings and pests, but all require frequent litter changes and ventilation for best flock health.
Do I need a subfloor under my chicken coop flooring?
Subfloors (OSB, plywood, or engineered panels) increase durability and make cleaning easier. On dirt, adding a subfloor prevents rot and pest entry, and on concrete, it adds thermal comfort.
—