
As an Amazon Associate we earn from qualifying purchases. This article contains affiliate links; we may earn a small commission at no extra cost to you.
Chicken tunnel for the garden is the smart way to let your chickens help with garden pest control—without sacrificing the safety of your flock or your crops. But building a chicken chunnel that truly works in the real world takes more than following a DIY diagram or a viral video. Here’s what most guides don’t tell you about robust design, predator-proofing, seasonal challenges, and what these tunnels actually cost to build and maintain long-term.
Key Takeaways
- Chicken tunnels for the garden offer effective, low-chemical pest control—and boost chicken health—but require strategic design to prevent predator access and material failure.
- Ignoring weatherproofing, seasonal adaptations, or regular upkeep leads to costly repairs and undermines both bird and crop safety.
- Actual costs and material durability are often unclear—making transparent planning and maintenance checks essential for any successful chicken chunnel project.
- Why Choose a Chicken Tunnel for the Garden?
- Step-by-Step Guide: Building a Durable Chicken Tunnel
- Advanced Analysis & Common Pitfalls (and How to Avoid Them)
- Conclusion
- Frequently Asked Questions
Why Choose a Chicken Tunnel for the Garden?
Chicken chunnels—sometimes called chicken tunnels—are wire-enclosed pathways that let your birds roam, snack on weeds, and hunt garden pests, all while staying safely separated from prized veggies and relentless predators. A chicken tunnel for the garden is an organic pest control powerhouse that also gives chickens crucial exercise and enrichment.
According to many backyard chicken keepers, “Chunnels allow your birds to roam, graze and explore safely, by protecting them from predators while letting them provide natural weed and pest control.” [Source 8]
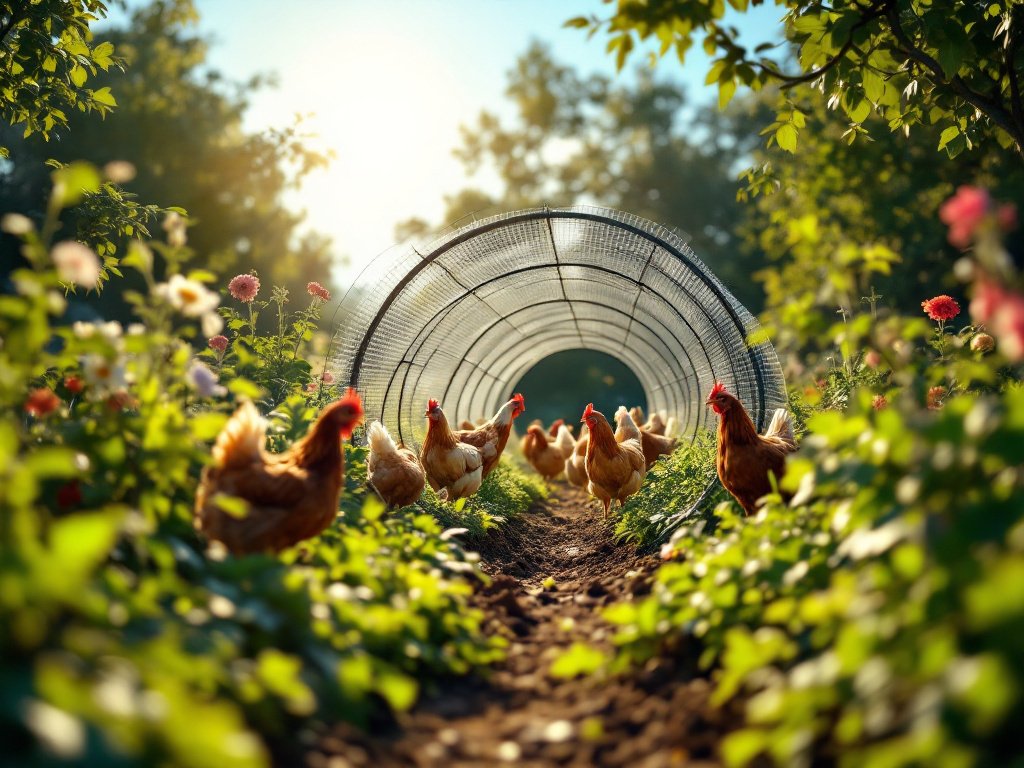
Instead of battling insects and weeds with harsh chemicals, you can use garden pest control chickens to do the hard work for you. With the right layout, a chicken chunnel can safely connect your coop to garden beds, fence lines, or moveable grazing zones—offering a win-win for both your plants and your flock.
Before you start gathering materials, it’s crucial to know that successful designs require more planning than most quick guides reveal.
Step-by-Step Guide: Building a Durable Chicken Tunnel
-
Map Your Route and Define Access:
Lay out where you want the tunnel to go—along fence lines, around garden beds, or creating perimeter pest patrol. Make sure it connects safely to your coop and run.
-
Choose the Best Materials (Not Just the Cheapest):
welded wire mesh (16 or 19 gauge, depending on the enclosure and predator pressure) is safer than basic chicken wire. Solid PVC pipe or rot-resistant wood works for the frame, but beware of cheap plastic or untreated lumber.
-
Predator-Proof Everywhere (Not Just at the Ends):
Bury hardware cloth 6-12 inches deep on both sides and reinforce every corner. All latches and access points need to be raccoon-proof—no flimsy clips.
-
Apply Weather Protection:
Seal wooden parts with exterior-grade paint. If using PVC Framing, look for UV-rated options. Add clear polycarbonate panels in areas where you need a dry, sheltered run in wet weather.
-
Modular vs Fixed—Think About Seasonal Changes:
Movable tunnels let you rotate chickens between garden beds or rest areas. Permanent tunnels need maintenance on buried mesh and exterior coatings, especially after storms or heavy use.
-
Budget (Realistically):
Calculate the cost of wire mesh, framing, hardware cloth, panels, fasteners, paint/sealant, and tools—not just the wire itself. Don’t forget ongoing expenses for repairs and upgrades.
-
Install, Inspect, and Test:
Check every seam and latch. Let your birds try the tunnel under close supervision for the first few runs. Monitor for digging at the edges or attempts to squeeze through gaps.
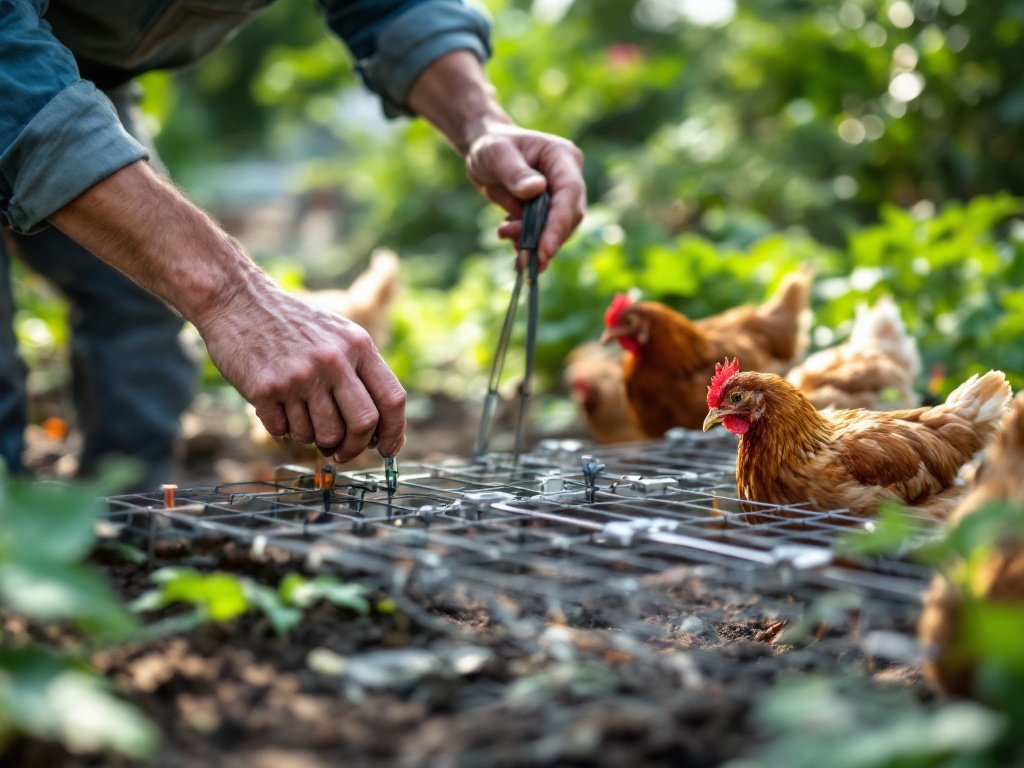
For a step-by-step on integrating your tunnel with the coop, check out our best chicken run upgrades guide.
Advanced Analysis & Common Pitfalls (and How to Avoid Them)
Most chicken tunnel plans oversimplify what actually goes wrong. Real-world failures are often due to:
- Wire mesh rust or deformation: Standard chicken wire cannot withstand chewing from raccoons, foxes, or rodents. Welded wire mesh may rust or bend if not galvanized or coated.
- PVC warping under intense UV exposure: Sun can degrade plastics quickly; avoid low-grade electrical conduit and opt for UV-rated or schedule 40/80 PVC.
- Wood rot and mold accumulation: Untreated lumber may fail relatively quickly outdoors, especially with constant moisture contact, especially where moisture collects at ground level.
- Neglected maintenance: Soiled tunnels grow mold and bacteria, attracting pests you’re trying to avoid. Hardware needs regular inspecting, especially after storms or animal attempts at entry (source).
- Seasonal failures: Freezing or overheating can warp materials and harm birds unless tunnels are insulated and ventilated for winter and summer use, as many keepers explain.
- Improper installation around garden beds: If a tunnel crosses raised beds or loose soil, predators may dig in or chickens may invade protected crops. Deep mesh skirts or anti-dig aprons are required.
| Material | Common Failure | Maintenance Solution | Typical Lifespan |
|---|---|---|---|
| Welded Wire Mesh | Rusts, bends, or breaks if not galvanized | Use coated/galvanized mesh, inspect and replace weak spots annually | Several years with maintenance |
| PVC Framing | UV warping, cracking from cold | Choose UV-rated PVC, reinforce at joints, store or cover in harsh conditions | varies widely; UV exposure can degrade unprotected PVC over time, so use UV-stabilized material or protect it from direct sun |
| Wooden Frame | Rot, mold, splintering | Seal with exterior paint/epoxy, elevate off soil where possible | Depends on wood/sealant |
| Hardware Cloth (Base) | Corrosion at soil contact | Use heavy gauge, replace if rusted | 3+ years with care |
If you want in-depth security tips, see our predator proof chicken coop guide and learn where most backyard builds fail.
Many suburban owners are surprised by the time involved with regular cleaning and by how quickly low-priced hardware cloth or tunnel tops can break down. Investing up front—especially in galvanized mesh and a sturdy frame—avoid “false economy” that results in needing to redo major sections within a year.
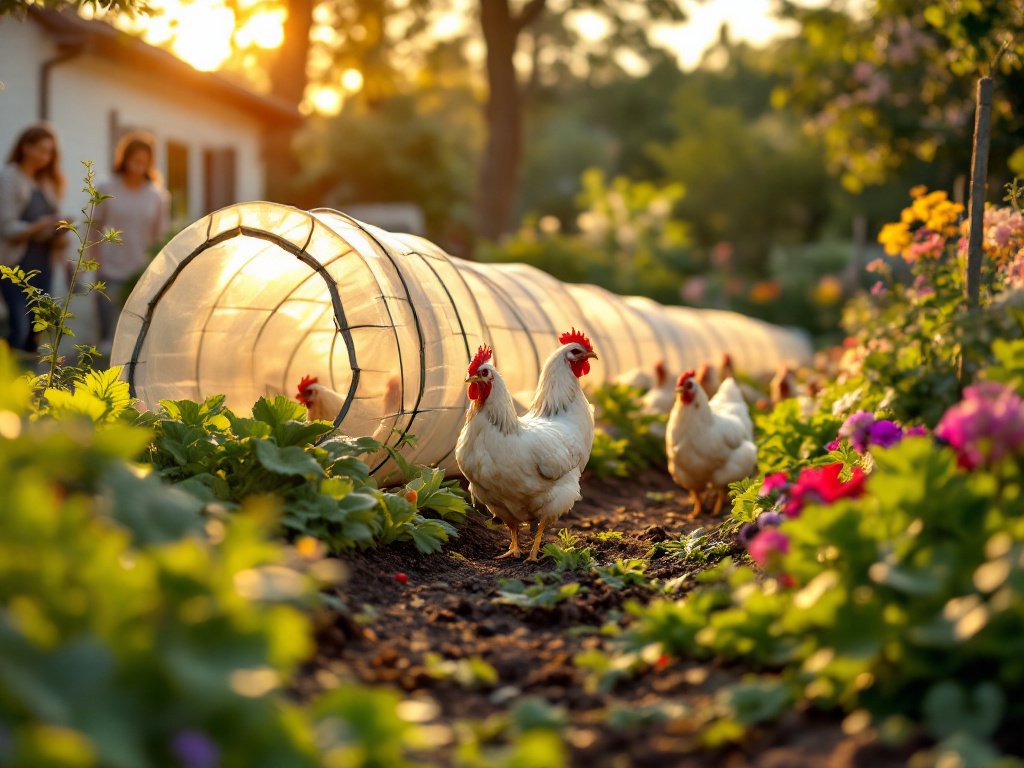
Creative customization helps, too: tunnels can be designed in modular segments that connect different garden beds or can be moved to new pest zones each season (source). For inspiration, see our chicken tractor guide for more flexible flock movement ideas.
Considering costs? DIY projects generally fall into a moderate price bracket, but prefab or kit models can add up quickly. Since actual prices can vary widely, always get quotes and factor in all upkeep—not just materials—before starting. For a realistic deep-dive on budget planning, don’t miss our cost to raise chickens explainer.
For year-round success, add or remove tunnel panels based on the season. During cold snaps, insulate with corrugated plastic or double up mesh with clear polycarbonate. In summer, shade segments or add shade cloth where overheating is a risk. See tips in our guides on keeping chickens cool in summer and winter-ready chicken coops.
Conclusion
Building a chicken tunnel for the garden is a game-changer for organic pest control and giving your chickens safe, enriching access to your yard. But the real key to success is planning for predator-proofing, routine maintenance, seasonal adaptation, and realistic budgeting—not just following a pretty plan online. If you’re ready to maximize the value of your garden and your flock’s health, plan your chunnel layout, invest in quality materials, and inspect often. Your chickens—and your crops—will thank you.
Ready to take the next step? Download a free chunnel materials checklist or dive deeper with our guides on best chicken run upgrades and hardware cloth options—and start building a chicken tunnel for the garden that lasts.
Frequently Asked Questions
Do chicken tunnels actually reduce garden pests?
Yes, chicken tunnels let birds eat many types of weeds and insects. While not a total solution, many gardeners see significant pest reduction along the tunnel route—without using chemicals.
Are chicken tunnels safe from predators?
They can be, but only with careful design: use hardware cloth, reinforce corners, bury mesh at least 6 inches, and use secure latches. Frequent inspections are key, especially after storms.
What is the typical lifespan of a DIY chicken tunnel?
It depends on the materials. Galvanized welded mesh and treated wood can last several years with upkeep, while cheap wire and PVC may need replacing after a couple of seasons.
Can you use chicken tunnels year-round?
Yes, but you’ll need to adapt them for cold and heat. Insulate for winter and provide shade in summer. Some owners switch out solid roof panels or add covers seasonally.
What are the real maintenance chores for chicken tunnels?
Check for rust, warping, or rot every season. Clean out droppings and debris regularly. Inspect for holes, dig-outs, and loose latches so predators can’t get in—or chickens escape.