
As an Amazon Associate we earn from qualifying purchases. This article contains affiliate links; we may earn a small commission at no extra cost to you.
How to ferment chicken feed is a practical, science-backed way to improve your flock’s health, reduce feed waste, and avoid costly mistakes many new keepers make. If you want to give your chickens a nutrition boost—and save money—you’re in the right place. This guide explains each step clearly and realistically, so your backyard hens thrive from day one.
Key Takeaways
- Fermenting chicken feed improves gut health and nutrient absorption for small flocks, but requires proper equipment and attention to detail.
- Avoid common failures like mold, spoilage, and wet litter by following proven ratios, venting, and temperature ranges.
- The process is simple: choose the right jar size, use dechlorinated water, monitor for sour aroma, and feed within 2–3 days for safest results.
- Why Ferment Chicken Feed? Science-Backed Benefits
- Choosing the Right Fermentation Equipment and Supplies
- Step-by-Step: How to Ferment Chicken Feed Safely at Home
- Preventing Failures: How to Spot and Fix Common Home Fermentation Problems
- Frequently Asked Questions on Fermenting Chicken Feed
- The Final Word—Is Fermentation Right for Your Flock?
Why Ferment Chicken Feed? Science-Backed Benefits
Fermenting chicken feed is more than just a homesteader fad. When you ferment grains, pellets, or mash for your chickens, beneficial bacteria like lactobacilli break down anti-nutrients and enhance the feed’s digestibility. This process supports stronger gut health, better absorption of vitamins and minerals, and a resilient immune system for your hens. One study found fermented feed can raise lactobacilli counts to 8.3 log10 CFU/mL, compared to 7.0 log10 CFU/mL in controls, which means more natural probiotics for chickens without any supplements.
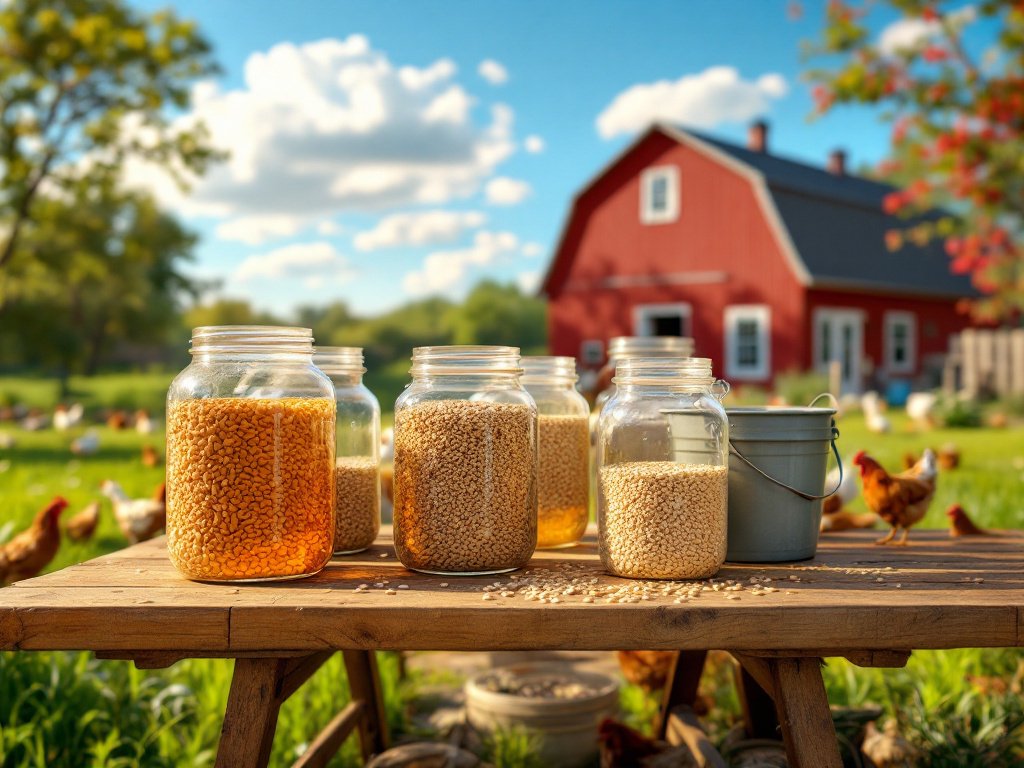
Backyard flock owners also see:
- Smoother digestion, reducing messy or undigested feed in droppings
- Healthier, more consistent egg production
- Lower feed costs, since hens eat less but get more from each bite
For more details, see the benefits of fermented chicken feed in practice, and learn how fermented feed supports immunity and productivity in flock studies.
Fermentation can lower pH and may inhibit some undesirable microbes, but it does not guarantee that mold or pathogens are suppressed or make feed inherently safe.
Choosing the Right Fermentation Equipment and Supplies
Your success with fermenting feed starts with your container. Avoid random kitchenware that might leach chemicals; instead, choose:
- Glass jars—easy to clean, great for up to 3 hens
- Ceramic crocks—stable, old-school but pricey
- BPA-free plastic buckets—best for 10+ birds, affordable and durable
The right feed fermentation jar size depends on your flock size. For just a few hens, a 32 oz mason jar is plenty. For three birds, consider a 1-gallon jar. If you keep 15 or more, go for a 5-gallon bucket (see container size tips).
Expect prices to range from a few dollars for mason jars to $25 or more for a large food-grade bucket. Ceramic crocks can cost much more, but are nearly indestructible.
Other essentials:
- Chlorine-free water (let tap water sit 24 hours or use filtered)
- tight-fitting lid with vent hole (never air-tight: gas needs to escape)
- Food-safe stirring tool
- (Optional) 1–2 tablespoons raw apple cider vinegar or omit salt; do not add salt unless following a validated poultry-feed fermentation protocol for competition against bad microbes
For easy, rodent-proof feed storage after fermenting, check out the best chicken feed storage containers.
Allow a few inches of headspace in your jar to prevent spillover during active fermentation. Always clean your equipment before each batch.
Step-by-Step: How to Ferment Chicken Feed Safely at Home
How to ferment chicken feed isn’t complicated, but the details matter for a healthy flock. Here’s the safest, proven method for small-scale keepers:
- Fill your container halfway with dry feed—pellets, crumbles, or scratch. Do not overfill.
- Add enough dechlorinated water to fully submerge the feed, with at least an inch of water above it. The feed will absorb water and expand.
- Stir thoroughly to eliminate any dry pockets and to encourage even fermentation.
- Cover with a loose-fitting lid or cheesecloth secured with a rubber band. Never use an airtight seal—gases must escape to avoid pressure and spoilage.
- Set on a shelf at room temperature (ideally 60–75°F) out of direct sunlight.
- Stir once or twice a day. If water is absorbed, add more so all the feed remains submerged.
- After 24 hours, begin checking for a sour, yeasty smell—this signals the start of fermentation. Most ferments are ready after 2–3 days, but can go longer in cooler temps.
- Scoop out the desired feed amount (drain excess liquid), and feed to your chickens. Do not feed any portion that shows visible mold or rotten odor.
- Store any leftovers covered in the fridge for 1–2 days, or feed promptly; refrigerate leftovers and use within 1–2 days. Discard if pink, fuzzy, or foul-smelling.
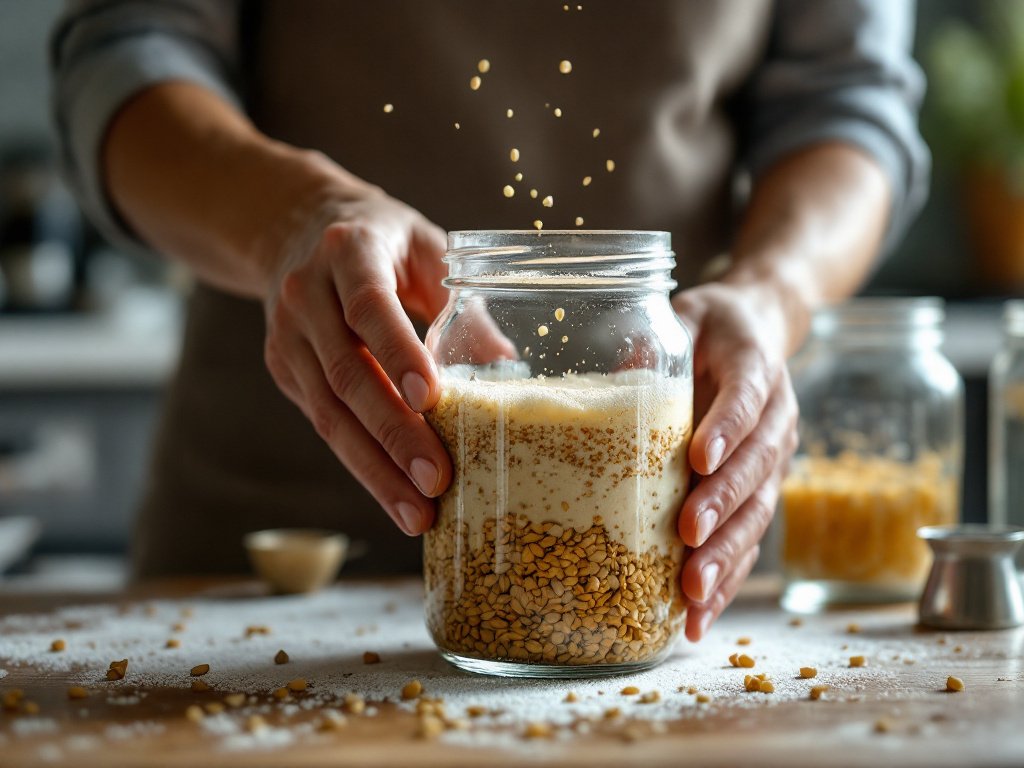
Monitor your batch closely, especially the first time. You want a clean, sour aroma (think yogurt or good bread dough) and bubbling, not a rotten, putrid odor.
Many experienced keepers note that reusing mature brine for new batches both speeds up fermentation and reduces the risk of mold.
Remember: Water above the feed is insurance against contamination. Always discard if mold is seen, as this can be toxic to your flock.
Planning to automate your chicken setup? You may also want to read about the best automatic chicken coop doors and chicken feeders that minimize waste.
Preventing Failures: How to Spot and Fix Common Home Fermentation Problems
Even careful fermenters can run into trouble. Here are the most common issues—and how to fix them:
| Problem | How to Spot | How to Fix or Avoid |
|---|---|---|
| Mold or Mycotoxin Growth | White, fuzzy, pink, green, or black films; pH that has not dropped sufficiently (around 4.5) | Discard batch. Use more salt/vinegar. Ensure all feed stays submerged. Use clean tools each time. |
| Rotten or Sulfur Smell | Putrid, unpleasant, not sour/bready | Discard immediately. Clean everything before restarting. Try filtered water and proper venting. |
| Uneven Fermentation | Pockets of dry feed; some parts smell different | Stir more often. Don’t overload container. Use containers appropriate for flock size. |
| Wet Litter or Reduced Intake | Damp bedding, chickens pick at or ignore feed | Use a finer strainer and let feed drain extra liquid before serving. Offer dry feed if needed. |
| Spoilage After 4–5 Days | Foul aroma, slimy texture, visible mold | Feed smaller batches. Refrigerate leftovers, or keep brine for up to 4 days only. |
The biggest risk is mold, especially at high moisture and warm temperatures. Remember: “Most common failures include mold/mycotoxin growth if pH does not reach about 4.5, rotten odors, uneven fermentation, and high moisture causing wet litter and reduced feed intake.”
If you want your coop’s bedding to stay dryer, see our essential chicken coop bedding guide for absorbent bedding that helps counteract wetter diets from fermented feed.
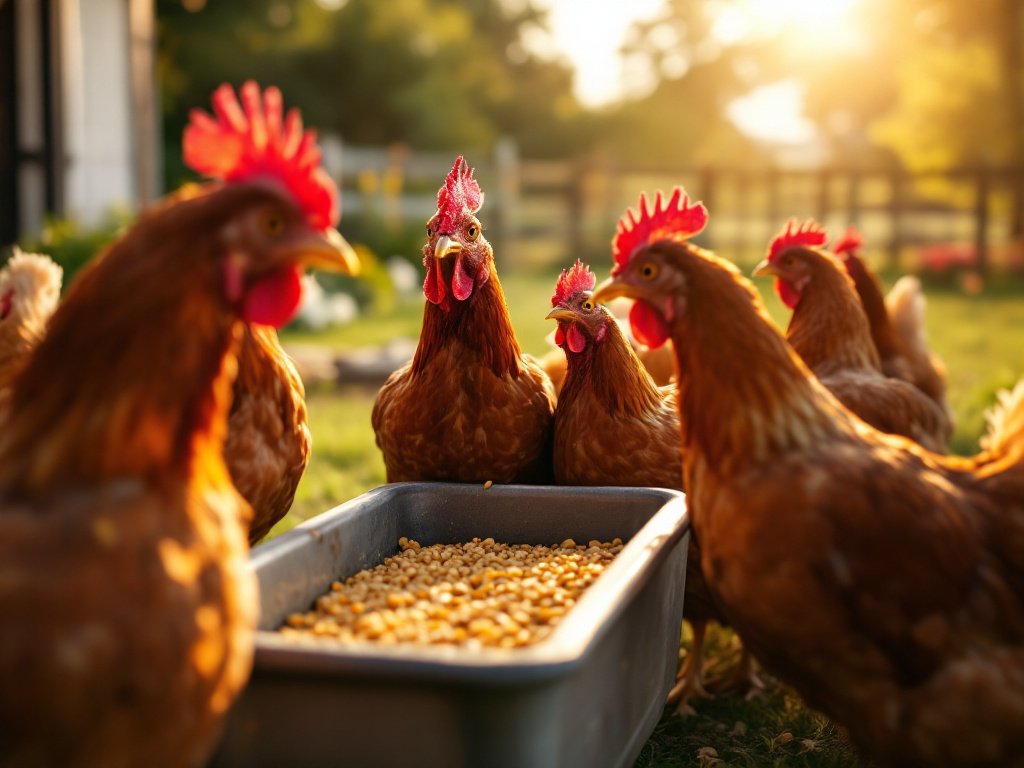
When in doubt, go smaller batch, watch pH (if possible), smell-check each batch, and clean containers after every fermenting cycle.
For full flock health, also explore our resources on natural parasite prevention and maintaining good coop ventilation.
Frequently Asked Questions on Fermenting Chicken Feed
How long does fermented chicken feed last?
After fermenting, store the feed in the fridge for a day or two. At room temperature in the liquid, most batches are safe for 4–5 days before spoilage risk rises. Always check for off odors or visible mold each time you scoop or serve.
Can you over-ferment chicken feed?
Yes. Leaving feed to ferment too long (more than 4–5 days) can result in slimy, overly sour, or spoiled feed that chickens might ignore. For best results, ferment smaller batches more often and only keep what you’ll use quickly.
Do you need commercial probiotics or a starter culture to ferment feed?
No—healthy, live probiotics for chickens are naturally produced by wild lactic acid bacteria in your environment and on whole grains. However, adding a splash of raw apple cider vinegar or yogurt the first time can help jump-start fermentation, especially in colder climates or with new equipment.
Can you reuse leftover brine for the next batch?
Yes. Reusing the brine (backslopping) can speed up the next fermentation. Just make sure you don’t see mold or smell off-odors in the liquid before using it again.
Is it safe to ferment chicken feed in hot or cold weather?
Fermentation works best between 60–75°F. In very hot weather, feed may ferment—and spoil—faster, so monitor closely and refrigerate if needed. In cool weather, fermentation is slower but still works. Just allow extra days and watch for mold if your area stays humid or warm.
The Final Word—Is Fermentation Right for Your Flock?
Fermenting chicken feed offers real, science-backed benefits: improved gut health, more nutrients per scoop, and often healthier, more productive hens. Risks like mold and spoilage are easy to avoid by using clean containers, following proper ratios, and staying vigilant with your senses. If you’re a small flock keeper willing to give a little daily attention, fermentation can be a simple way to boost your flock’s outcomes—and reduce waste. Try starting with a small batch using this how to ferment chicken feed method, and scale up if your birds thrive.
Ready to give it a try? Gather your supplies and start fermenting this week. And if you have more fresh eggs as a result, check out our tips for storing fresh eggs safely in any season!