
As an Amazon Associate we earn from qualifying purchases. This article contains affiliate links; we may earn a small commission at no extra cost to you.
Build a dust bath for chickens if you want helpful protection against mites, feather damage, and flock boredom—all while making chicken care easier and healthier.
Key Takeaways
- Sturdy containers, the right location, and a safe sand-soil-ash mix help you avoid the top dust bath mistakes that cost time and health.
- Careful attention to drainage, moisture, and seasonal adjustments make for a reliable year-round dust bath flock actually uses.
- Most guides miss mold prevention, the impact of respiratory irritants, and how dust bath design directly affects feather and egg health.
- Why a Great Dust Bath Matters for Chickens’ Health
- The Most Common Problems (and Solutions) When Building a Dust Bath
- Concrete Specs—What You Really Need for a Reliable Dust Bath
- The Proven Chicken Dust Bath Recipe (With Costs)
- Where to Place and How to Maintain Your Dust Bath Year-Round
- What the Other Guides Miss—Advanced Tips for Better Flock Health
- Quick-Reference: Troubleshooting Common Dust Bath Issues
- Frequently Asked Questions
Why a Great Dust Bath Matters for Chickens’ Health
A quality dust bath directly supports chicken health—controlling parasites, keeping feathers in top shape, and even possibly supporting overall flock welfare. When you build a dust bath for chickens that works, hens naturally smother mites and lice, regulate body temperature, and help remove excess oil or dirt that can make plumage brittle or greasy.
When dust baths are neglected or poorly built, owners see more feather pecking, patchy or oily feathers, rising mite and lice populations, and a real drop in egg production—sometimes even higher mortality during disease outbreaks.
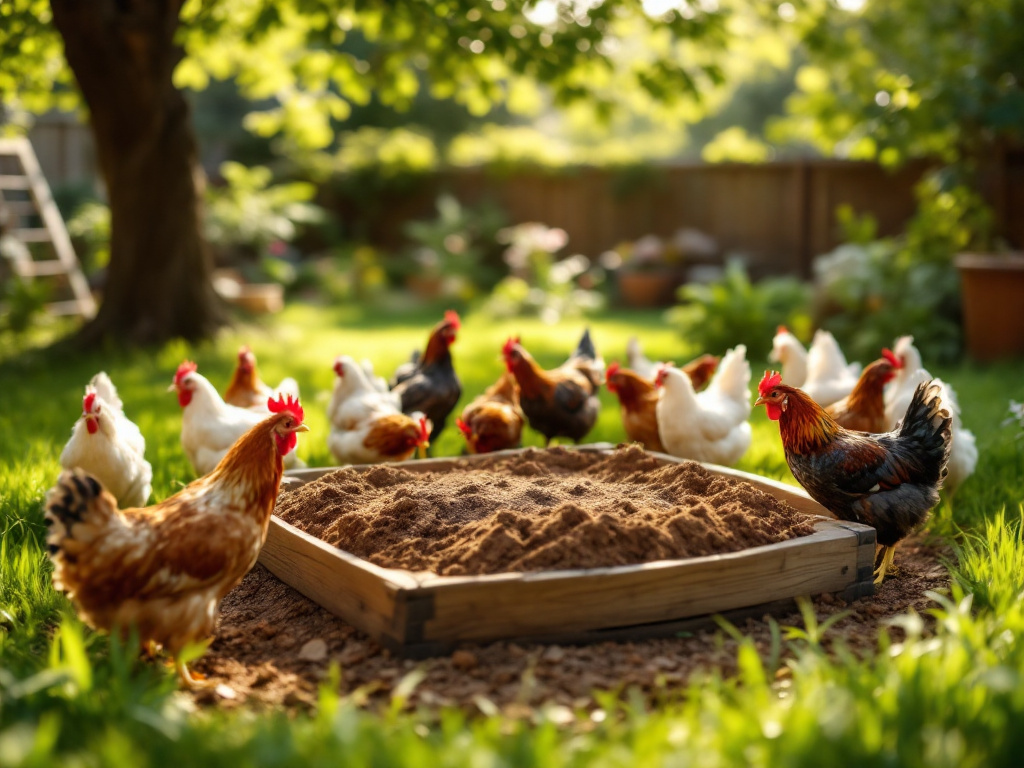
Dirt baths also offer vital behavioral enrichment: dusting is a social event that relieves flock tension. For a flock’s overall welfare, a good dust bath isn’t a luxury—it’s a necessity.
For flocks that need help through seasonal changes, see our guides for cold weather chicken coops and keeping chickens warm in winter.
The Most Common Problems (and Solutions) When Building a Dust Bath
Many chicken keepers run into snags when choosing a dust bath container or picking a dust bath location. Problems include:
- Containers tip over—especially lightweight kiddie pools or bins placed on uneven or muddy ground.
- Baths get wet and moldy—if sited under drip lines or without drain holes, leading to birds avoiding the bath entirely.
- Mixes clump or compact—especially if using too much clay-rich soil or moisture-absorbing materials.
- Overuse of ash or diatomaceous earth—can irritate chicken airways, making hens sneeze and avoid bathing.
- Hens ignore the bath altogether—if the mix doesn’t feel “right” or location is exposed to wind, rain, or heavy foot traffic.
The main solutions are to use a wide, stable, heavy container (or weigh it down), drill drainage holes, use a proven loose mix, and never overdo breathing irritants. Choose a location with shelter from the worst of the rain and midday sun, but enough light and airflow that the mix dries quickly after use. Common owner headaches are detailed in this MannaPro guide for more container pros and cons.
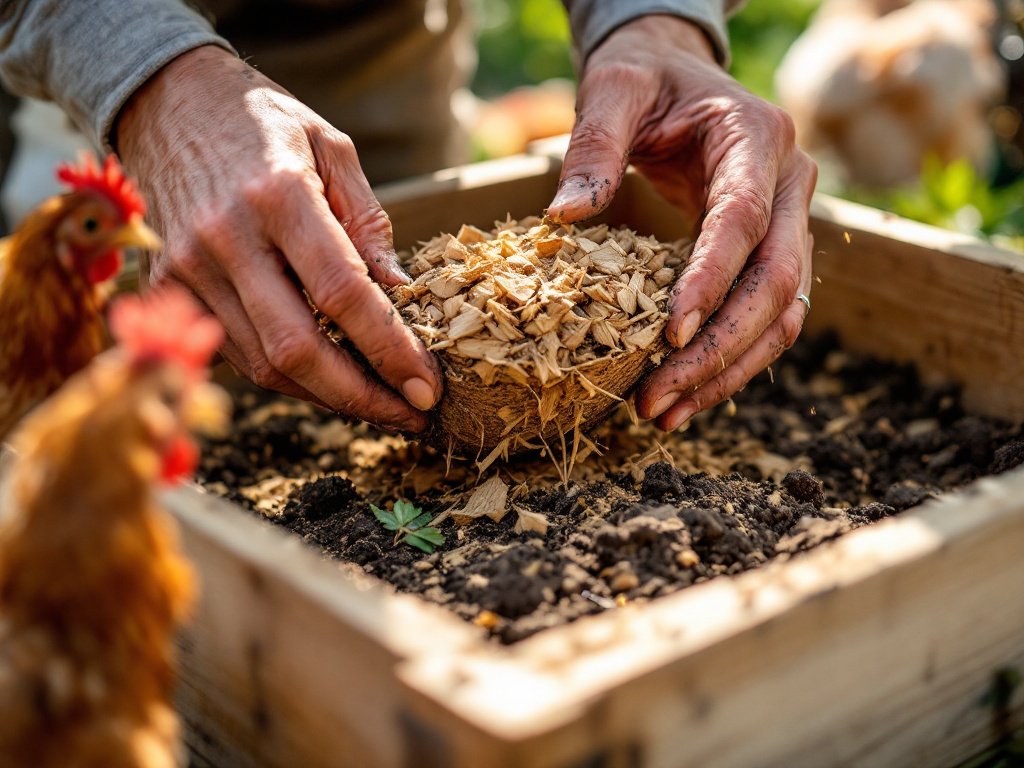
Another overlooked tip—avoid placing the bath where rain drains or snowmelt collects in spring. You’ll save many headaches by picking a slight slope for runoff, or add a pipe to direct extra water into gravel under the bath.
If you’re outfitting a new run, our resources on best chicken runs and fixing a muddy chicken run will help optimize ground conditions.
Concrete Specs—What You Really Need for a Reliable Dust Bath
Build your dust bath for chickens with these proven specs and options for different flock sizes and budgets:
- Size: Most flocks (up to 10-12 hens) do best with a 24–36 inch square and 8–12 inch deep container. Larger groups may need two baths, or a large pool for group dusting. Chickens need room to lay sideways and flap, not just stand.
- Material Choices: Durable plastic storage totes, 5-foot kiddie pools, Galvanized Tub, large planter boxes, or recycled car tires all work. Plastic bins ($30–$55), kiddie pools ($20–$35), galvanized tubs ($30–$70), wood boxes ($40–$80), or free tires offer options to fit almost any setup [source].
- Drainage: Always add ½ inch holes in the bottom (at least 3 or 4), and raise the container a few inches above soggy ground on bricks, pallets, or a sloped site to encourage runoff.
- Stability: For mobile containers, weigh down with old bricks, sandbags, or attach by placing inside a wooden frame. Galvanized tubs and tires are least likely to tip over.
- Cleaning: Deep containers allow old mix to accumulate; plan for easy emptying or scooping about every 2-3 months, or when mix gets crusty or fouled.
| Container Type | Pros | Cons | Approx. Cost |
|---|---|---|---|
| Plastic Tote (55-gal) | Covered option, easy to clean, sturdy if weighted | May need to cut one side for entry, plastic gets brittle with sun | $30–$55 |
| Kiddie Pool (5-ft) | Cheap, lots of room | Tips easily, needs weight, fades in UV | $20–$35 |
| Galvanized Tub | Very stable, classic look | Heavy, can get hot in sun, pricy | $30–$70 |
| Wooden Box | Custom sizes, can be insulated for winter | Needs regular maintenance and drainage | $40–$80 |
| Recycled Tire | Durable, free or low-cost | Holds less material unless trimmed or stacked | Free |
Consider best chicken coop flooring for broader ground material options if you’re building from scratch.
The Proven Chicken Dust Bath Recipe (With Costs)
A common chicken dust bath recipe is a simple 2:1:0.5 mix of clean play sand, dry garden soil (or topsoil), and fine wood ash (from untreated firewood). Add a very light dusting of food-grade diatomaceous earth for a natural boost against mite and lice infestation [source].
Batch Example for a 36″ Bath (fills to 6–8” deep):
- 50 lb play sand (about $5)
- 25 lb topsoil (about $4)
- 5 lb wood ash (collect from a fireplace or campfire, $0–$3 or free)
- 1 lb food-grade diatomaceous earth (optional, about $2–$3 per pound)
Total mix cost: ~ $12
Ingredient Roles:
- Sand: Keeps the mix loose and allows easy scratching and dusting; reduces clumping.
- Soil: Brings a familiar texture; some hens refuse only-sand baths.
- Wood Ash: Natural parasite control, absorbs excess oil, but must be used sparingly to avoid respiratory irritation.
- Diatomaceous Earth: (DE) Extra anti-mite/lice action; needs to be food-grade and very lightly used. Never substitute pool-grade DE.
Never use ashes from treated wood, painted furniture, or charcoal with additives. If you need more guidance on DE, see our detailed DE for chickens guide.
If cost is a concern, skip DE and source play sand on sale. Wood ash can be collected free in winter if you heat with wood.
Where to Place and How to Maintain Your Dust Bath Year-Round
Placement and upkeep make or break a dust bath’s value. Here’s how to maximize your location:
- Choose part sun, part shade to let baths dry after rain but offer sunbathing for hens’ enjoyment. Avoid full shade in winter; full sun can overheat containers in mid-summer.
- Avoid soggy or low spots—baths should never sit in puddles or collect runoff. Raise containers on bricks or wood, or add gravel underneath for better drainage (see more here).
- Cover the bath during rain—recycle a plastic bin lid, sheet metal, or a scrap polycarbonate panel for an instant roof.
- Winter care: Move baths under solid roof, inside covered runs, or insulate wooden containers and add more sand for easier digging in cold weather.
- Monitor moisture: Bath should be slightly damp to touch, never wet or caked. Stir bath weekly, remove soiled or crusty mix, and replace ingredients as needed.
- Freshen mix every 2-3 months, or more often if teased by chicken poop or spilled waterers. Moldy mix signals the need to empty and replace immediately.
Keeping chickens cool in heat? Add summer cooling solutions near the bath to prevent heat stress.
What the Other Guides Miss—Advanced Tips for Better Flock Health
Most how-tos stop at basic recipes and ignore critical real-world challenges:
- Moisture and mold monitoring: Use a $10 mini hygrometer, or just squeeze the mix: if it forms a ball, it’s too wet; if dust puffs outward on mixing, it’s too dry or dusty for chickens’ lungs.
- Seasonal upgrades: In summer humidity, experiment with adding small amounts of pure lump charcoal or dried herbs (like lavender) to resist mold and deter pests. In winter, insulate wood boxes and increase sand-to-soil ratio for easier digging in cold.
- Breed-specific preferences: Heavier or larger breeds need deeper baths and more room. Flighty or shy birds may use covered or partially enclosed dust bath locations more readily.
- Impact tracking: Spend 5 minutes weekly to score feather condition, note red skin or bald spots, and track egg numbers. Clean, loose, and attractive dust baths correlate with better feathering and higher laying rates in many backyard flocks.
- Automate maintenance: Keep a cheap plastic scoop or garden trowel next to the bath for easy spot cleaning.
Few sources connect dust bath quality to flock health data—your observations are the best way to optimize your build. Keep notes and get ahead of problems. For more flock optimization, check our guide to nesting boxes that reduce stress and egg breakage.
Quick-Reference: Troubleshooting Common Dust Bath Issues
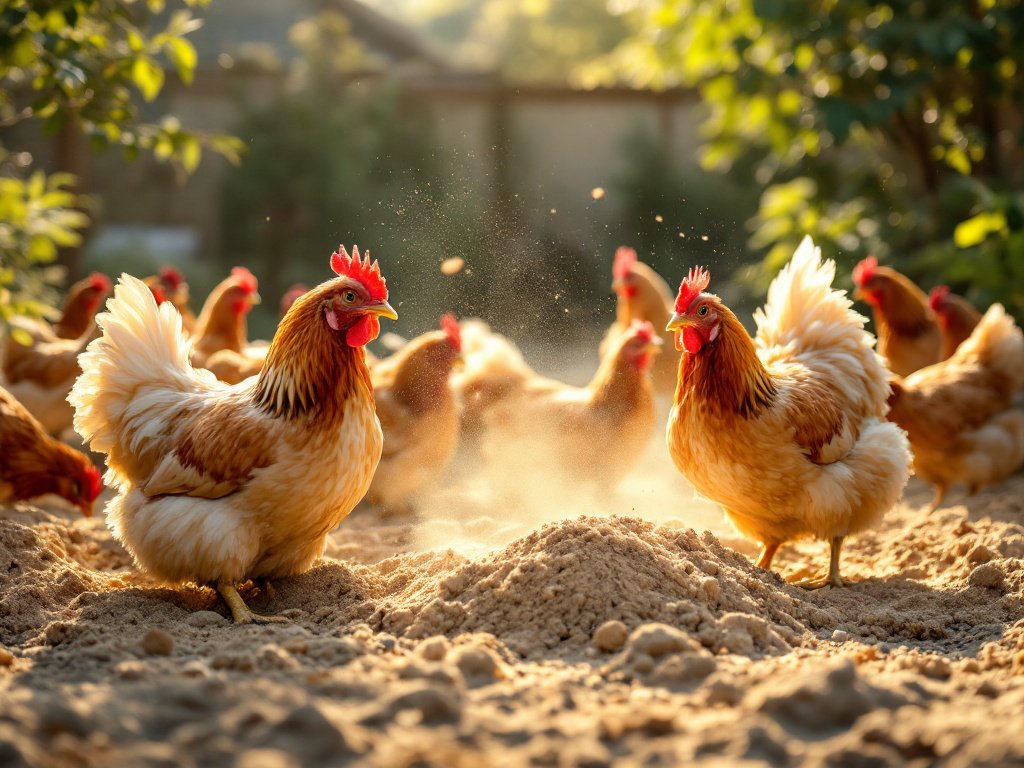
- Chickens ignore the dust bath: Try moving it to a more private or sun-warmed area, or swap some plain soil back in. Some hens want familiar earth, not all sand.
- Bath is too wet: Raise container, improve drainage holes, and roof during rain. Stir and remove caked mix.
- Bath is too dusty/causes sneezing: Reduce ash and DE, lightly mist (not soak) mix, increase soil proportion.
- Container tips or spills: Switch to a lower, heavier type or weigh current one down.
- Mold or clumping: Replace with fresh dry mix, add more sand, and check for covers or shade to block rain.
- Mix irritates eyes or airways: Avoid overapplying diatomaceous earth and ash—less is always more.
Improper drainage and excess dust are the main reasons hens avoid using dust baths [source].
If dust baths alone don’t solve parasite woes, check your overall coop bedding choices for humidity and cleanliness issues.
Frequently Asked Questions
What is the best dust bath container for chickens?
The best dust bath container is stable, weather-resistant, and roomy enough for several hens—plastic totes, galvanized tubs, and recycled tires are all common choices for backyard flocks.
How deep should a chicken dust bath be?
A dust bath should be 8 to 12 inches deep so chickens can dig, roll, and toss loose mix over themselves, but still easily hop in and out.
What should go in a chicken dust bath?
A proven chicken dust bath recipe includes play sand, dry topsoil, fine wood ash, and a light sprinkling of food-grade diatomaceous earth. Avoid ash from treated wood, strong-smelling additives, or pool-grade DE.
How often should I change out the dust bath material?
Replace the dust bath mix every 2-3 months, or whenever it becomes wet, smelly, moldy, or heavily soiled. Stir at least weekly to keep it loose and inviting for hens.
What if my chickens won’t use the dust bath?
Try moving the bath to a new dust bath location, tweaking the recipe to include more soil or sand, or covering the bath for privacy. Some hens need time to adjust, especially if their routine changed recently.