
As an Amazon Associate we earn from qualifying purchases. This article contains affiliate links; we may earn a small commission at no extra cost to you.
Hatch eggs with a broody hen is often the easiest and most affordable way for small flock owners and homesteaders to grow their flock, but it requires practical planning and real-world knowledge to avoid common pitfalls.
Key Takeaways
- Hatching with a broody hen is low-cost, natural, and often yields healthy chicks when managed carefully.
- Results and challenges vary widely by chicken and egg breed, pen setup, and hen behavior—know what to expect.
- Basic setup costs for a broody hen system are much less than incubator systems, but owner intervention and troubleshooting are often required.
- The Basics of Hatching Eggs with a Broody Hen
- Buyer’s Guide—What You’ll Need to Set Up and Real-World Costs
- Broody Hen Hatching Success Rates: By Breed and Egg Type
- Must-Know Milestones—Candling, Timelines, and Handling
- Top Failure Points and Simple Fixes—What Actually Goes Wrong
- Owner Pain Points—And Real Solutions That Work
- Essential Checklists & Troubleshooting FAQ
The Basics of Hatching Eggs with a Broody Hen
Natural incubation happens when a hen “goes broody,” meaning her hormones prompt her to sit tightly on a clutch of eggs for weeks, rarely leaving except to eat and drink. Some breeds—like Silkies, Orpingtons, and Plymouth Rocks—are more likely to go broody and be reliable mothers. Others, especially production hybrids, may never go broody at all.
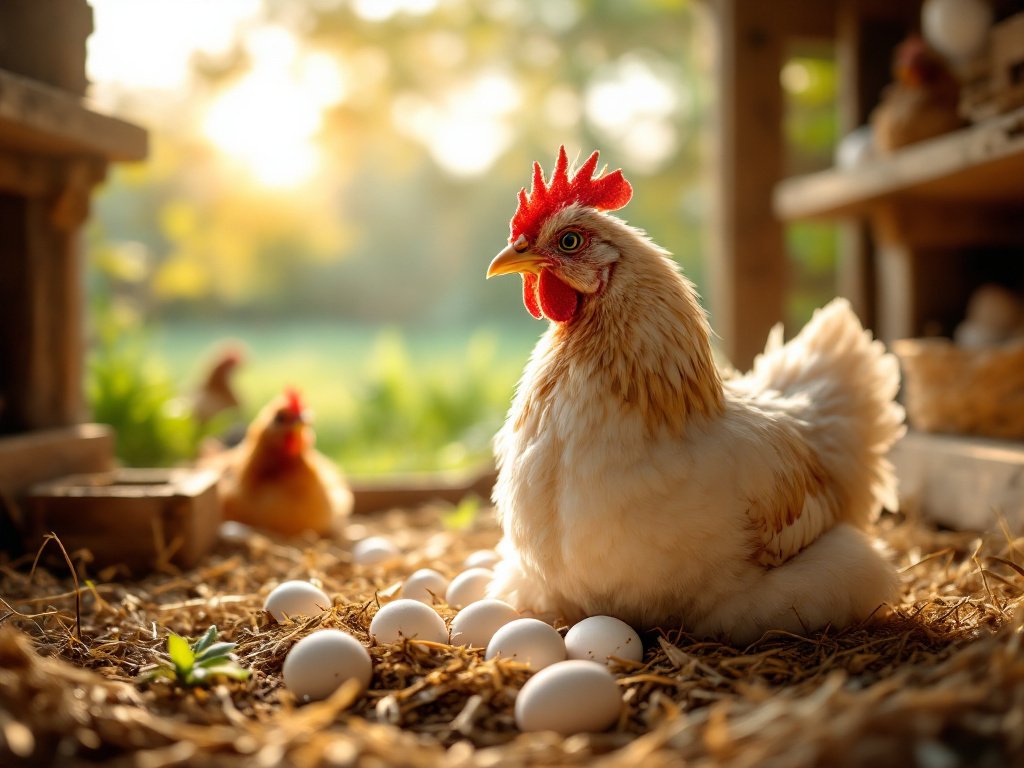
This natural method appeals to backyard keepers because the hen manages warmth, humidity, and even chick teaching all on her own. Unlike incubators, which require electrical power and constant monitoring, a healthy broody can handle all care for a clutch of fertilized eggs—usually 12 to 15 at a time—maintaining around 99.5°F (37.5°C) and about 50-60% humidity for 21 days. Duck eggs need about 28 days and higher humidity.
Choosing when to give a hen eggs, how many she can cover, and what type of eggs (e.g., chicken, duck, or even turkey) are critical decisions for natural incubation. Larger breeds or those with plentiful soft feathers make the best broodies. Breed, timing, and the freshness of your fertile eggs all matter for success.
For detailed tips on easygoing chicken breeds, check out our beginner breeds guide.
Buyer’s Guide—What You’ll Need to Set Up and Real-World Costs
Setting eggs under a hen (sometimes called “setting a clutch”) takes a little upfront investment. Here’s what you typically need and why it matters for successful broody hen care:
- Nest box: A plastic or wooden box, or even a sturdy cardboard crate, with clean bedding. Expect $10–20 for a basic, reusable box. See top-rated nest boxes.
- Broody pen or isolation area: Many experienced keepers recommend moving the broody to a small, separate pen ($30–50 for basic wire panels or a repurposed dog crate) with a lid or roof for predator protection. This keeps other hens from disturbing her or laying more eggs in her nest.
- Brood-ready coop or small chicken tractor: For either temporary or ongoing use, a safe coop ($150–300) helps you avoid weather and predator losses. For colder climates, see tips here.
- Chick starter feed: Get a small bag of 18–20% protein chick starter (often $5–10 per batch, enough for a dozen chicks for their first weeks). See more: best layer and starter feeds.
- Bedding: Straw or wood shavings ($5–10 per bale or bag) for the nest and pen floor. Learn about bedding options.
All told, expect a $200–380 outlay—often hundreds less than buying an incubator and related gear. For many owners, this keeps hatching costs manageable and lets the hen do most of the work.
Want extra protection for your flock? See our honest predator proof coop tips.
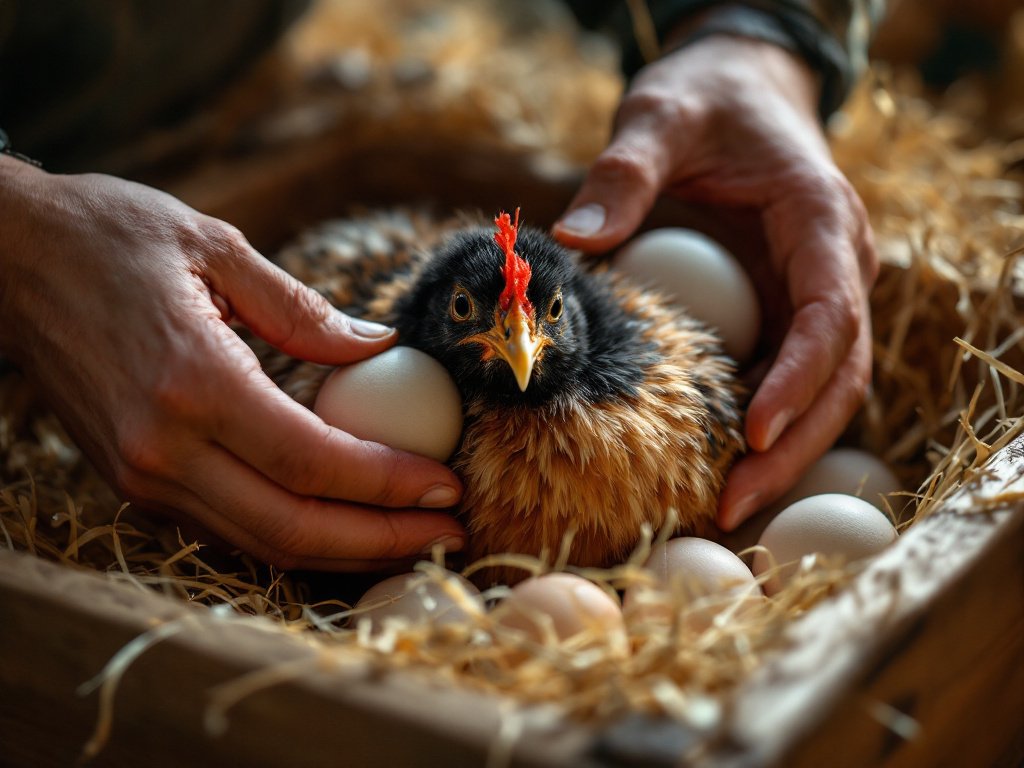
Be sure to isolate any broody hen from overly assertive flock mates. If possible, treat for mites and lice before moving, since parasites can make sitting almost impossible. For more on practical flock health, see our natural parasite control guide.
Broody Hen Hatching Success Rates: By Breed and Egg Type
Actual success rates when hatching eggs with a broody hen depend on the hen’s breed, how fresh the eggs are, and the local environment. Broody hen hatching rates are often highest with:
- Silkies, Orpingtons, and Plymouth Rocks: Most reliable, with no fixed hatch-rate percentage can be guaranteed; fresh eggs under 7 days old generally improve odds.
- Large or heritage breeds (Brahmas, some ducks): See typically no fixed hatch-rate percentage can be guaranteed, partly because thick shells and higher humidity needs increase risks. Source
| Breed/Egg Type | Hatch Rate (Fresh Eggs) | Main Challenges |
|---|---|---|
| Silkie | 70–85% | Generally excellent mothers |
| Orpington | 70–85% | Rare abandonment, can sit large clutches |
| Plymouth Rock | 70–85% | Good with variable clutch sizes |
| Brahma | 60–70% | Large shells, higher humidity need |
| Duck (under chicken) | 60–70% | Longer incubation, must monitor humidity |
Eggs more than a week old, extreme weather, or disturbing the sitting hen can cut success by half or more. For a deep guide on chicken breeds, see best egg layers.
Must-Know Milestones—Candling, Timelines, and Handling
Knowing when—and how—to intervene makes or breaks many natural incubation attempts. Here’s the proven schedule:
- Day 0 (Setting): Place all eggs under the hen, ideally after nightfall for less stress. Mark each with a pencil to avoid mix-ups.
- Day 7–8: Candle eggs by gently removing a few at a time. Use a small flashlight in a dark room. Discard any infertile or “clear” eggs that show no veins. Instruction source
- Day 14: Candle again—look for blood rings or eggs that have quit developing. Remove these promptly to prevent rot.
- Day 18–20: Stop handling. The hen will often shift position more as chicks prepare to hatch (“lockdown period”).
- Day 21: Chicks begin to pip and hatch. Give the hen a day or two longer before worrying if all eggs haven’t finished.
For detailed candling guides, visit our candling step-by-step.
Broody hen care here is crucial. If the hen routinely leaves the nest for more than 30 minutes, gets bullied by other hens, or seems weak, you may need to hand-raise the chicks or even finish incubation artificially. Learn about crisis chick care at chick brooder setup.
Top Failure Points and Simple Fixes—What Actually Goes Wrong
Most issues are preventable—but only if you know what to watch for. Here’s what real owners report (and what fixes actually work):
- Infertile eggs: Many mixed flocks have a rooster-to-hen ratio too low for all eggs to be fertilized; infertility varies by flock and rooster management; no single percentage applies. Only set clean, well-shaped eggs less than 7 days old. More troubleshooting tips.
- Abandonment or desertion: some broodies quit, usually due to stress, parasites, or excessive human disturbance. Isolate the broody, treat for mites, and keep visitors to a minimum.
- Temperature/humidity swings: Hens struggle when coop is too exposed. Large temperature swings or improper humidity can kill embryos. Use a sheltered pen and thick bedding. For cold regions, see: winter flock tips.
- Predators and coop invaders: Raccoons, snakes, and rats can kill broodies or eat eggs. Add locks and use hardware cloth on all openings.
- Egg rolling or ruined nest: Sloped boxes cause eggs to roll, risking embryo death. Keep nest slightly cupped in the center and reshaped with each bedding change.
- Rotten eggs: Remove bad eggs at each candling. Mark good eggs so you don’t mistakenly remove a live one.
For predator deterrents, read our coop security guide.
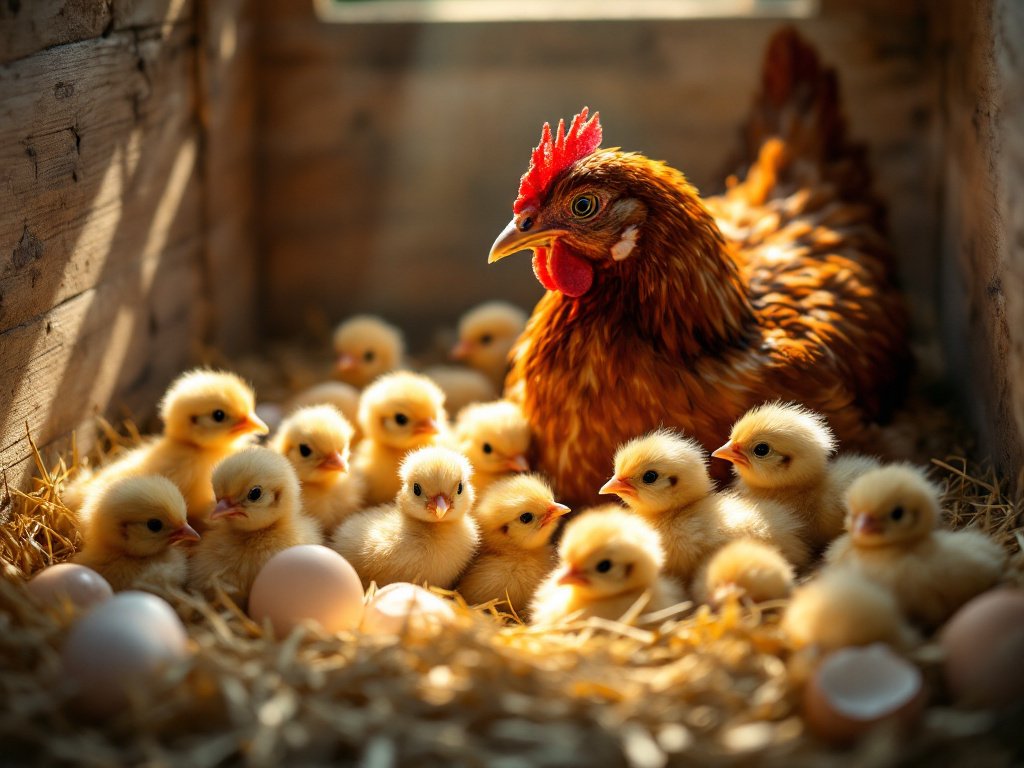
To maximize success, treat for lice and mites before moving the broody, candle on schedule, and intervene only if a persistent problem is clear.
Owner Pain Points—And Real Solutions That Work
Even the best broody can test your patience. Here are top headaches and field-tested fixes:
- Unpredictable timing: You can’t force a hen to go broody. Some take months; others never will. Solution: Maintain several broody-prone breeds if regular hatching is a goal.
- Hen weight loss: Hens eat sparingly while brooding and can lose condition fast. Remedy: Offer feed and clean water directly next to the nest twice a day; give her high-protein treats such as mealworms as needed.
- Isolation logistics: Moving her risks breaking the broody spell. Solution: Move broody hens at night, carry nest contents with her, and minimize post-move disturbances.
- Bad eggs and ongoing candling: Discarding eggs upsets some hens. Trick: Take only a few eggs at a time and return them quickly to keep the hen settled.
- Desertion mid-hatch: If a hen abandons her eggs after candling, finish incubation in a backup incubator—or accept that not all clutches succeed.
For more on chicken health and intervention, check first aid for chickens.
Setting eggs under a hen is never risk-free. The process often requires backup plans (like another broody or an incubator) and will teach you as much about patience as poultry care.
Essential Checklists & Troubleshooting FAQ
Use these checklists before and during any broody hatch:
- Pre-Hatch Setup
- Inspect and clean nest area, treat flock for mites/lice.
- Choose a proven broody breed if possible.
- Have all pen, bedding, and feed bought before setting eggs.
- Mark eggs and remove any “surprise” extras daily.
- Daily Care
- Offer food and water in easy reach; refill daily.
- Limit disturbances; check quietly for broken or dirty eggs.
- Record any odd behavior—especially leaving nest for too long.
- Key Milestones
- Candle at days 7–8, 14; discard bad eggs right away.
- Triple-check nest security on hatch day.
- Monitor for health issues as chicks hatch and the hen re-joins the flock.
Adapt for your local climate. In hot or cold regions, insulate or shade pens as needed and keep bedding deep but dry. To reduce parasite issues, treat birds and wash hands rigorously after handling broodies or eggs. For muddy runs, see how to fix a muddy chicken run.
Still exploring? For high-tech alternatives or backup plans, see the best incubator reviews.
Frequently Asked Questions
How many eggs should I set under a broody hen?
Most medium to large hens can cover 10 to 15 eggs comfortably; small or bantam breeds handle fewer. Only set as many as fully fit under her body.
What is the best time of year for hatch eggs with a broody hen?
Late spring and early summer are safest, as temperatures are mild and food is plentiful. Avoid cold snaps or wet seasons if you can.
Do I need a rooster for hatching eggs?
Yes, only fertilized eggs from hens who’ve been with a rooster will hatch. Learn more at do you need a rooster for eggs.
How do I prevent predators from raiding the nest?
Use covered pens, hardware cloth, and lockable coop doors. For full protection guides, see predator-proofing tips.
How do I know if my broody hen is really committed?
She will sit almost non-stop, fluff up and cluck when disturbed, and refuse to leave the nest for more than a few minutes at a time. Test her with dummy eggs before setting real ones.
Conclusion
In summary, the best way to hatch eggs with a broody hen is to select a proven broody breed, set up a secure and comfortable nest in an isolated pen, monitor milestones like candling and hatch day closely, and be ready to adapt if something goes wrong. With the right setup, hatching eggs with a broody hen is affordable, educational, and often more successful than expensive incubator setups for small-scale keepers. Start planning your first broody hatch now—and enjoy the rewards of natural, hands-on flock growth.
—